

Today we are making and setting in the Sleeves for our Willa Wrap Coat. This process is the same process I follow for any type of Set-in Sleeve on any pattern (bar adding the sleeve roll), so if you're new to setting in sleeves in general, hopefully this will give you a good starting point to feeling confident for any set-in sleeve pattern.
What is a Sleeve Roll?
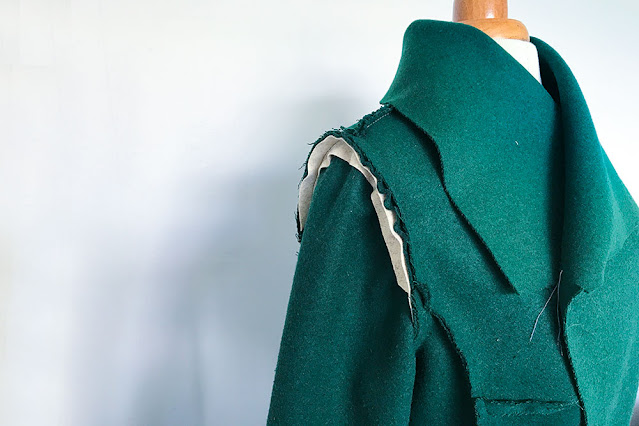
A sleeve roll is essentially a strip of bias cut fabric (a pattern piece for this comes with your Willa Wrap Coat sewing pattern) that acts almost like a mini shoulder pad for your sleeve head. It is sewn into the sleeve head seam allowance and pressed to the sleeve side, to give a bit of additional structure and shape to your sleeve head. Sleeve rolls are generally used in tailored garments like tailored coats, jackets and blazers. I've included a Sleeve Roll pattern piece with the Willa Wrap Coat pattern.
Sleeve rolls are generally made of thicker woven fabrics like wool. Because my outer coat fabric for this Sew Along coat was so thick, I opted to cut my sleeve rolls from the off cuts of Kyla's cream coat which was a lighter fabric. But you can cut yours from the same fabric you're using if you'd like.
I like to set in my sleeves before attaching the Sleeve Roll (as I can make extra sure there are no puckers in my sleeve that way) but you are welcome to sew it in at the same time you are sewing in your sleeve. If you do choose to sew your Sleeve Roll in afterwards, I attach it to the seam allowance, as close to the sleeve stitching line as possible.
You don't have to include a sleeve roll in your coat if you don't want too, but they do add a lovely shape to the sleeve head when your coat is worn.

Making your Sleeves
1. Take your sleeve pattern pieces and place a line of basting stitch around the sleeve head, from your back notches to your front notches. Your basting stitch should sit within your seam allowance (1.5cm or 5/8") - I tend to put it closer to the outer raw edge of the seam allowance rather than the stitching line.


Inserting Set-in Sleeves & your Sleeve Roll (if using)


Post Comment
Post a Comment
Thank you so much for stopping by to leave me a comment, like most people, I really do appreciate them all!
Due to the large amount of spam I receive here, unfortunately I have had to turn comments off. If you'd like to get in touch with me, please send me an email :)
Note: Only a member of this blog may post a comment.