Today is a quick one and one that I like to get out of the way so that all of my little Willa Wrap Coat things are ready for when I need them.
Note: I am not using the belt loops on my coat simply because my fabric is soooo thick, BUT I have got a post coming up later on using a thread chain instead, if you find yourself in this same position. It's quick, easy and neat, so don't worry!
Assembling Belt/Hang Loops:
The steps for assembling both of these are the same - I am showing this step to you using lining fabric, as that is what I am using for my hang loop and what I suggest you also use, unless you're making a coat with a lighter weight outer fabric like mammoth flannel.
1. Press your pattern piece in half lengthwise, wrong sides together.
2. Press the outer raw edges into the centre on both sides.
4. Place a line of stitching along the folded edge to keep your loop together, 3mm (1/8") away from the edge. You can add an additional line of matching stitching up the other side if you wish. Press,
5. If your lining has an obvious print, because the loop is quite long at this stage, you have plenty of loop to play with so that you can position the print in the best place. I've chosen to use as much leaf as possible.
Fold your outer edges under, and press a loop in at the bottom. You can either line your loop sides up so they're touching, or leave a little gap as I've done here.
6. Trim down your loop legs to match (don't worry that your loop is quite long, we will adjust this again later).
Assembling the Coat Belt:
1. Right sides together, match up belt pieces at the double notches indicated on your pattern piece. Pin in place.
2. Back-tacking at each end, sew together. Trim down seam allowances and press seam open.
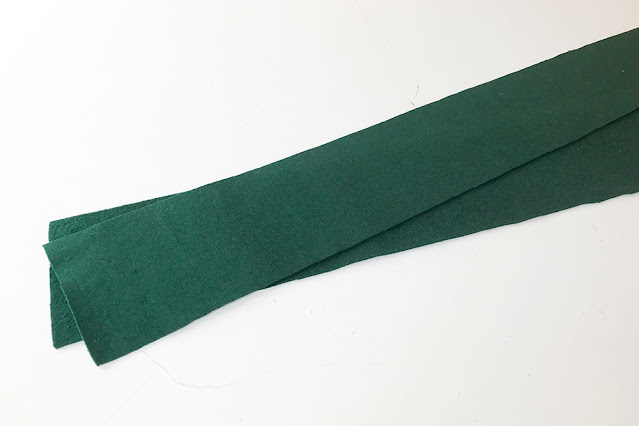
3. Fold belt in half along the length, wrong sides together, and pin in place.
4. If you don't have a thick fabric, you start stitching your belt together at one of the short sides before sewing the entire length and leaving one short side open (back-tacking at each end). HOWEVER, if you're like me, with a very thick fabric, leaving both short ends open and just stitching the length closed is a better idea. It makes it much easier to turn...
5. Trim down seam allowances (very important for very thick fabric!) and turn your belt right sides out. Using a pair of tweezers is useful!
If you've stitched one of your short ends closed, use something like a knitting needle to help poke your corners out nicely.
Press.
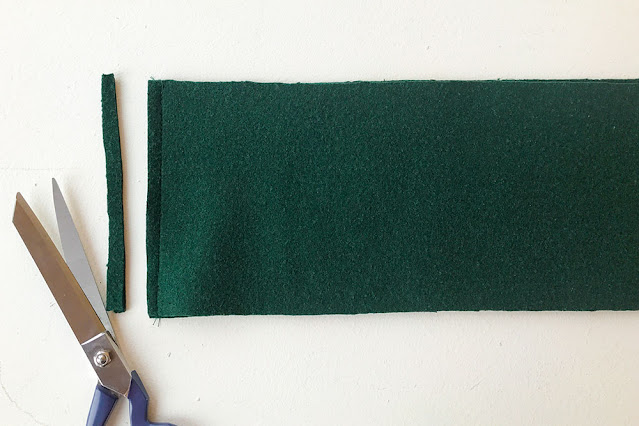
6. Fold the raw edges of your open short end(s) into the tube belt tube. Press and pin in place.
7. Place a line of top-stitching around the entire belt - 3mm (1/8") away from the edge, if you can!
If your fabric is very thick, you may find you need to use a bigger seam allowance there. Where I've trimmed down my seam allowance along the long edge, left a thicker section of belt that my machine wasn't happy sewing over so I just used a bigger seam allowance there. It's not a big deal for me because I'm not using contrast thread, but this is something to consider if you are.
Press.
And that's us done for the day. Tomorrow we move onto constructing the front of our Outer Coat...
You can purchase your Willa Wrap Coat sewing pattern here.
xx
J


Post Comment
Post a Comment
Thank you so much for stopping by to leave me a comment, like most people, I really do appreciate them all!
Due to the large amount of spam I receive here, unfortunately I have had to turn comments off. If you'd like to get in touch with me, please send me an email :)
Note: Only a member of this blog may post a comment.