Image Slider

July in Pictures...

Wednesday, July 31, 2013
Some snaps from my Instagram during July...

Hanging out with the Mont-ster...

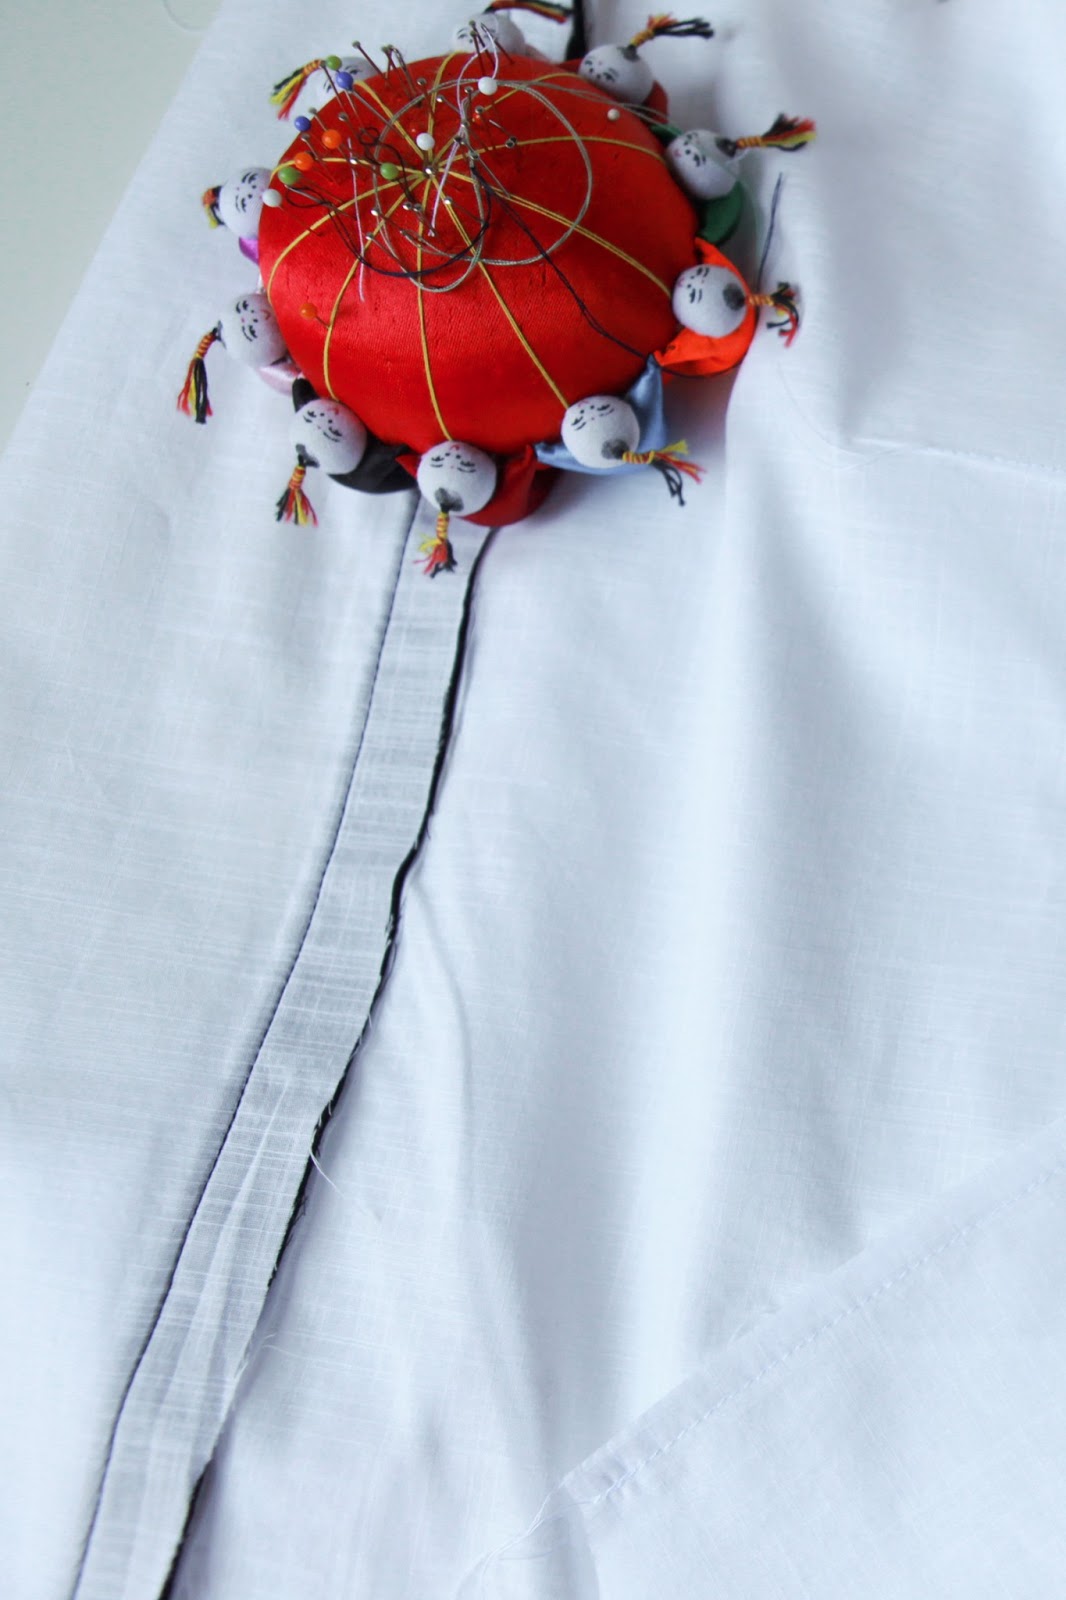
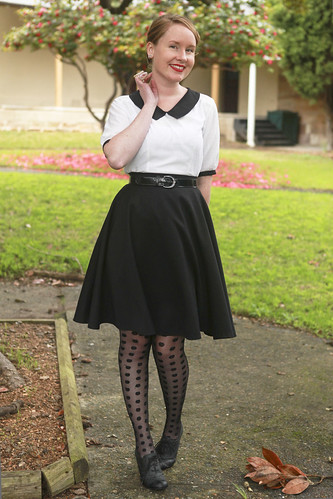
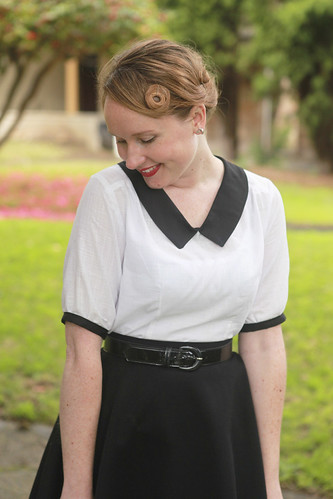
Secret sewing - I love these vintage shell buttons with this beautiful vintage fabric.

An Indian summer in the middle of winter. The lavender is confused and has started to bloom.

My sewing supervisor asleep on the job - typical!

Panda feet!!

Trying to remove 'mothball smell' from a vintage cardigan using white vinegar. It didn't work. 
Any other suggestions??

Big cat, little box.

I can't believe it's August already! We are officially on the countdown for moving countries (whose bright idea was that anyway?).

August 30 is fast approaching as is the date for my sewing machine to board a ship. I have 2.5 weeks left of sewing time and there is so much to sew and so many other things competing for my time, like packing, paper work, kitties, typing up Norwegian poems for David, planning our massive Europe trip (for which I do have a post coming!) and I'm trying to get ahead of myself so that there are interesting things to put on the ol' blog until the end of November when I am finally (hopefully!) reunited with my sewing machine.

Ugh, stressy McStress!

xx
Jen

Tutorial - Making and Inserting Inseam Piping

Friday, July 26, 2013

I used a contrasting black piping on the back of my Airelle Blouse and decided to document the process so that you can see how easy it is to make and insert inseam piping yourself.

Piping can add a sweet little detail to your garments. You can either choose to make it from a contrasting fabric or from the same fabric for a more subtle effect. Insert piping into yolk seams in shirts, waist seams in skirts and even along neck lines in dresses or other tops.

Supplies:


Steps:

1. Cut a strip of bias binding from the fabric you wish to turn into your piping. You will want your strip of fabric to be at least 2 inches wide (and as long as you need for your project plus a little extra).


2. Fold your bias binding in half, wrong sides together and lightly press (you only want a light crease, don't iron in a heavy line otherwise your piping won't be nice and round).

Use your ironed crease to line up your cord inside your bias binding.


3. Push your cord against the ironed line as close as possible and then pin in place.


4. Using your zipper foot, sew as closely as you can to your piping. Don't catch or sew over your piping though.


5. Trim the raw edge of your piping down to match your garments seam allowance, measuring from the stitching line you just sewed. For my garment, a 5/8" seam allowance is provided, so, on my piping, from the raw edge up to the line I sewed above is 5/8".


6. Sandwich your piping between your seams, right sides together, lining up your raw edges. Using your zipper foot again to guide you closely to your piping, sew along your seam matching up your seam allowance accordingly. 

Because you trimmed your piping raw edge down to match your seam allowance, you shouldn't catch your piping, but go slowly, there is no need to rush.


7. Turn your garment right side out, gently iron your seam allowance down and marvel at your lovely piping detail.


xx
Jen
Shop Patterns     .     Instagram     .     Twitter     .     Pinterest

The Classic Airelle...

Saturday, July 20, 2013
Yay, I've finished my first version of the beautiful Airelle Blouse from Deer&Doe - my first time using one of Eleanor's patterns. My sister gave me this pattern for my birthday (along with the Belladone dress which I'm half way through!) and it's really such a lovely pattern to work with.

I actually finished the blouse about 2 weeks ago and I finally managed to get some photos of it yesterday (and in the rain as well no less)...

Airelle 20 June 2013 19test2

Airelle 20 June 2013 16test2

Airelle 20 June 2013 5

As soon as I saw this pattern I knew that I needed to make it. It's such a sweet little blouse with endless options for variation. I knew straight away how I wanted to make my first one as well - a classic combination of black and white. A blouse that would work in the cooler months as well as transition nicely into the summer.

I found a beautiful, light textured cotton voile for the body of the blouse. As I really didn't want to use a plain white cotton, nor did I want anything too pretty, this fabric fit the bill. It has a lovely fine stripe throughout the weave which adds some interest, while not being too overwhelming.

I chose a black polished cotton for the collar, cuffs and inseam piping. The polished cotton makes the finished blouse a little more fancy than a plain matt cotton would, while also adding to the subtle texture of the voile.

Airelle 20 June 2013 3

Airelle 20 June 2013 18

Airelle 20 June 2013 12


I ended up shortening the sleeves a touch so that they sat just above my elbow as opposed to below. This meant I also needed to add a little more room into the cuffs because the sleeve was now sitting on a wider section of my arm. I also graded to a larger pattern in the hips, but after finishing the blouse, I realised that I really didn't need to. It doesn't bother me too much though because I'll probably wear this blouse tucked in anyway.

I also omitted the interfacing in the collar because I thought the neckline would look too bulky and not sit as nicely and I'm glad I did. Even as it is, the neckline is a tad bulky where the collar pieces meet up in the centre.

Finally, because the voile is slightly sheer (and a little prone to fraying), I finished off the waist and arm sleeve seams using french seams to give the inside a clean finish.

Airelle 20 June 2013 10

Airelle 20 June 2013 15

Airelle 20 June 2013 11

Airelle 20 June 2013 9

Airell 20 July 2013 21 


Oooh, what a deliciously lovely pattern! Seriously guys, you need to get this pattern toot sweet if you don't already have it. It's the perfect beginners pattern, but as there is so much scope for adding your own touch, intermediate and advanced sewers won't be disappointed either.

Do any of you have this pattern? Have you made it yet?

xx
Jen

PS) I'll have a tutorial on making and inserting inseam piping at the end of the week for those who are interested and another on French seams after that :)

The Kate-Franken Dress...

Monday, July 15, 2013
So, this is my Kate Middleton-Blue-Engagement-Franken dress. Number three on my Winter Time Sewing List.

Not as pretty as hers.

In fact, not the prettiest dress I've ever made. But wearable, and really, what else do you need?

15 July 2013 11

15 July 2013 8


My version is made up of so many different patterns I don't even know where to start. I found the front bodice bones in the form of a vintage Vogue dress pattern from the 1950s. The back is self drafted (a back that I had drafted for a little knit peter pan collared top I was selling in my Etsy store some years ago). The ties are taken from my wrap blouse (altered and lengthened) and the skirt is 2 rectangles of fabric gathered all the way around. The sleeves are from my Apples in Winter dress, lengthened.

The knit is a super stretchy wool mix of dubious quality, but I loved the subtle pattern and the colour. And it is so stretchy in fact, that I didn't need to use a fastening of any kind. I can happily slip it over my head, wrap the waist ties around and BAM! Instant waist.

15 July 2013 9

15 July 2013 1

15 July 2013 12

15 July 2013 6

It is not perfect by any stretch of the imagination. The bust gathers drape strangely down across my arm pit (I needed to make the shoulder a bit smaller I think) and some of the gathers underneath the bust sit kinda funny. But for a complete experiment (using mostly bits of patterns that were never meant to be made with knits) it's turned out wearable. Well, wearable enough to go to the pub for a drink anyway.

This is my second knit dress and I still feel like I don't really know what I'm doing when sewing with them. But I guess I've made two wearable garments so far, so I must be doing something right.

Have you ever had luck with piecing different patterns together to make something completely new?

xx
Jen

Pretty Little Colourful Things...

Saturday, July 6, 2013

It's so satisfying getting things done and I've been happily getting lots of things done this week. I've finished 2 dresses, screen printed goods for a last minute market I was offered for Saturday, muslined a blouse, traced another blouse, baked, washed fabric, taken photos... the list goes on. But most recently, I finished these three lovely little granny square cushions.

You may remember my crazed granny square making? Well, these are the results and I am in love with them. David likes them too and has requested one in greys, greens and blues for his 'office'. I finished them off in vintage fabrics and a navy blue cotton canvas with a little wooden button to close.

I am going to be putting them up in my Etsy shop this weekend for custom orders. They take quite a bit of work, but they look so pretty all lined up in a row.

Now I need to make a start on a blanket...

xx
Jen

Auto Post Signature

Auto Post  Signature