

We're done!! Can you believe it! There was A LOT covered in the Willa Wrap Coat Sew Along, but hopefully it has given you all the confidence you need to tackle sewing up Willa - just in time for the cool weather to hit down here in NZ and for those chilly spring evenings up in the northern parts of the world.

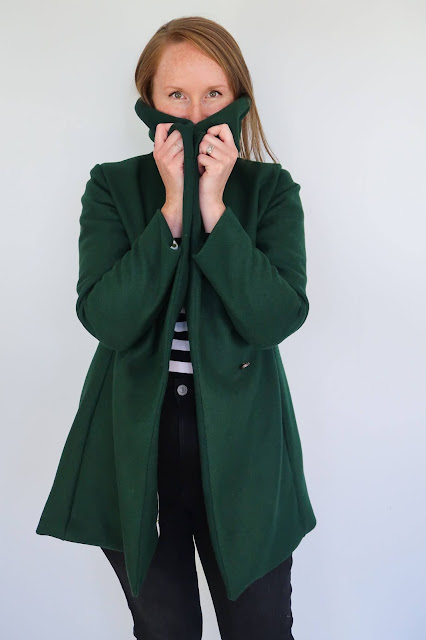
And here is my finished coat. The great thing about Willa is that you can wear it so many ways, and how you choose to wear it can give it an entirely different look.
Wear it fully buttoned up, and tied at the waist, for those chilly, windy days - no scarf required! Or, leave the belt at home and go fuss free.


Open the top button for the full dramatic collar - a lovely choice for an evening out. Or, leave your coat completely open, maybe with the belt tied at the back for a little shaping if you feel like it.

Each little tweak can totally transform your coat, which means you're ready to go, no matter the occasion. Casual cool with cropped pedal pushers and ballet flats (I was going for an Audrey Hepburn-vibe with the styling here) or glamorous evening with strappy heels and a sparkly dress. Or nipping out to work with boots and crisp white shirt to collecting the kids from school, gumboots and umbrella in tow.
Here's a quick round up of different things I did for my coat...
I used a palm tree rayon lining and a thick, felted, forest green wool. My fabric was very very thick so I only interfaced certain areas (the hems and the back of the buttons). I added in-seam pockets (free pattern piece here) instead of the included patch pockets, and chose to add a thread chain in place of the included belt loops (again, because my fabric was very thick).


For the full Sew Along post round up, you can head over here. And you can purchase your Willa Wrap Coat sewing pattern here.
And that's a wrap (coat)!
xx
J


