Image Slider

Sewing With Vintage Patterns - Part 2

Friday, July 23, 2010
Hello everyone,

Here is Part 2 - Resizing your Pattern, of my little series on Sewing with Vintage Patterns. If you missed Part One, go here.


Australian Home Journal November 1962

*Before we start, a little disclaimer - I am in no way a pro or an expert on the subject so please take what I say with a grain of salt and a touch of whimsy.

I only started sewing with vintage patterns last year and this little series will merely be full of what I hope will be helpful tips and tricks that I have gleaned along the way. There are probably a myriad of tips out there already, and a lot of the things I have to say you may probably already know - but bare with me - I had fun writing them!!

Part 2 - Resizing your Pattern

If you wear vintage regularly, you’ll be aware of the fact that dresses from yesteryear do not tend to cater for modern day sizings - the waists are tiny for one thing. This also rings true for vintage patterns, which means it is more than likely you’ll need to make some fitting adjustments if you are planning to make something using one.

The most important thing to understand when trying to fit your pattern is that for the most part, these patterns were designed to be worn using vintage undergarments – resizing your pattern will take time, patience and practice.

Australian Home Journal November 1962 2

Australian Home Journal November 1962 4

Australian Home Journal November 1962 3


1) Read the instructions

I know, sounds rather simple and like one of those ‘Well duh!’ suggestions. But if you are anything like me (impatient!) you’ll probably tend to skip this little bit – especially if you have chosen what looks to be a simple pattern.

I have found giving the instructions a good once over before I even pull out the pattern pieces, a really good idea. Work through the instructions in your head and imagine yourself doing what they are telling you to do. This way you will be able to find any steps that may be difficult or that leave you feeling confused, and you can hopefully sort these out before you even get started.

In my somewhat limited experience with using vintage patterns, I’ve found that most pattern instructions will give you some basic fitting guidelines. Most of the time these refer to changing the length of the garment (either the bodice or the skirt, depending on what you are making). I would always suggest you follow these guidelines if you need to make any length adjustments, because the pattern maker did know what they were doing afterall.

Pattern intructions will also tell you if they have any seam allowances already built into the pattern or if you need to add your own - which comes in rather handy when resizing and cutting your pattern later on.


Australian Home Journal November 1962 5

Australian Home Journal November 1962 6

2 Reference Books

I suggest having a really good sewing reference book at the ready (or at least the internet). I have a few vintage sewing books that I find immensely helpful, especially for sewing with Vintage patterns. This is because both the books and the patterns use the same language, so it’s easy to look up what you are trying to do.

Vintage sewing books should also be full of techniques that your pattern will be calling for. They will guide you through the technique (most of the time with diagrams) so that your sewing project will go as smoothly as possible.

If you have found a few stages in your pattern instructions that you don’t understand – now is the time to figure it out.

Australian Home Journal November 1962 7

Australian Home Journal November 1962 8

3 Resizing your pattern

If you’ve stuck to my suggestion of only going one inch either side of your bust size, resizing a pattern is generally easy-ish.
  • Take out the pattern pieces. Measure the waist and (hips if its a fitted dress) taking into account any darts - they often run small so it’s good to check.
  • It also pays to measure the length of the bodice/skirt pattern – everyone is different and patterns may need to be lengthened or shortened – as I mentioned above, your pattern instructions will normally tell you where to add or subtract length.
  • At this point, if you are really nervous, or new to sewing, I would strongly suggest cutting out a muslin version of your pattern before you use your real fabric. I cannot profess to ever having made a muslin before myself (read: far to lazy and impatient!!), but it is actually a rather good idea when it comes to fitting.
  • If you are adding or subtracting an inch from your bust/waist size, do this at the side seams. Make sure to allow for any seam allowances and add ¼ of an inch to each side on both the front and back pattern pieces. This process will not always mean getting away with not having to do any re-shaping of the bodice darts, but it should make any reshaping minor.
  • Baste your muslin pieces together, then try it on. I would suggest trying it on the ‘right’ way first and wearing the undergarments you plan to wear with the piece. This will show you immediately if and where you are having any fitting issues.
  • If it’s perfect, then move onto making the item in your real fabric. If not, and you do not have a dress makers form, turn the pattern inside out, put it on and start fitting.

I find it difficult to fit a pattern properly when I’m doing directly on myself, but I know that adjustable dress makers forms can be on the expensive side.

The main reason I don’t suggest going any more either side of an inch is because this will often mean needing to fiddle around drastically with the shaping darts on the bust and waist and this is not an easy task if you do not have a dress makers form.


I hope that was helpful! Next week - choosing the right fabric!!


XX
Jen


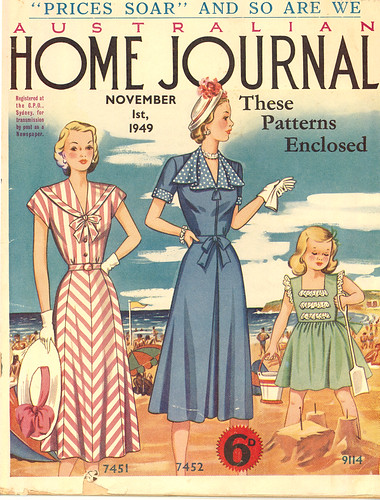
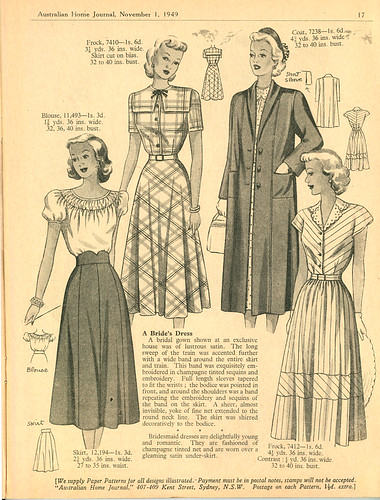
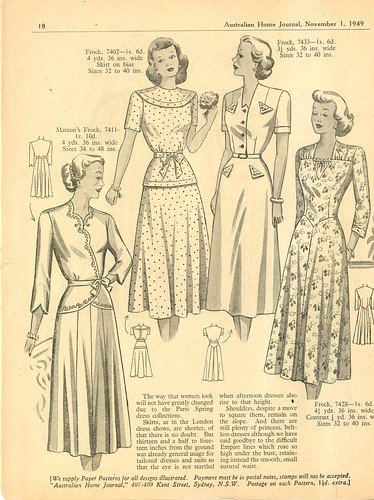
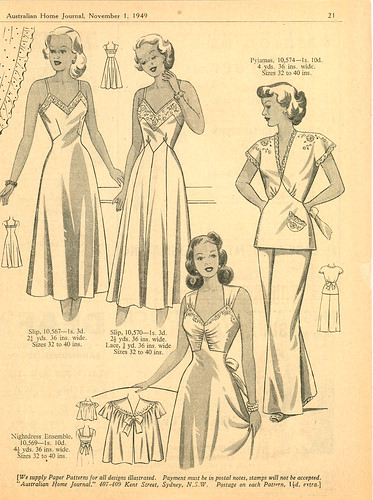
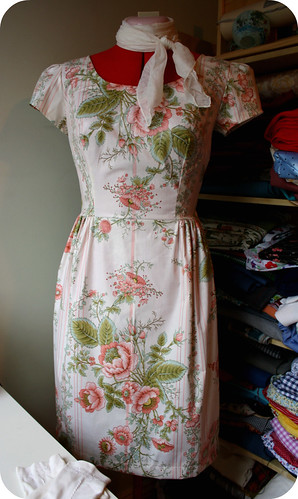
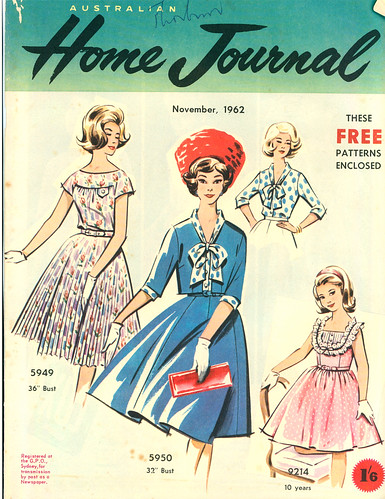
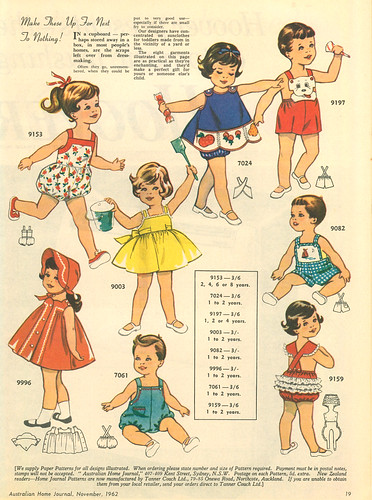
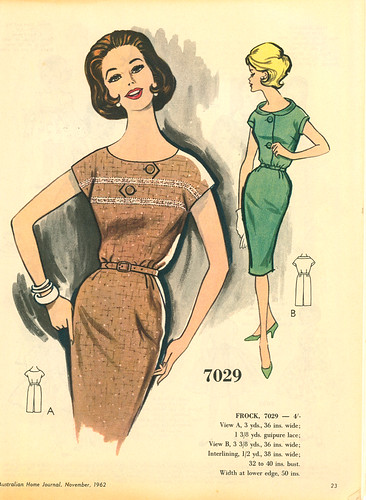
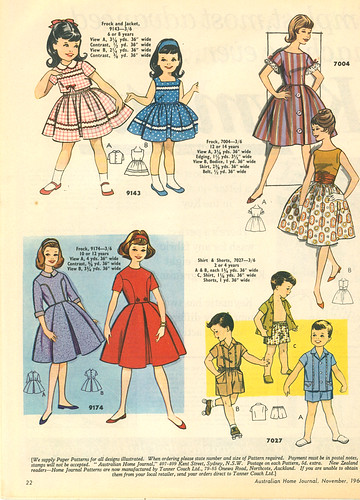
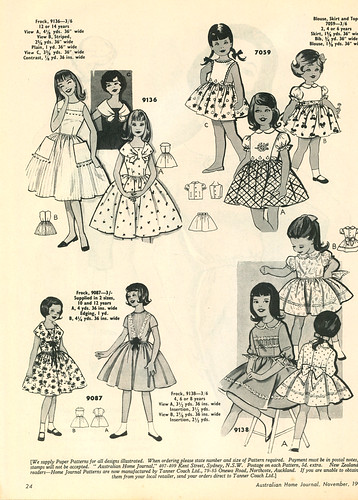
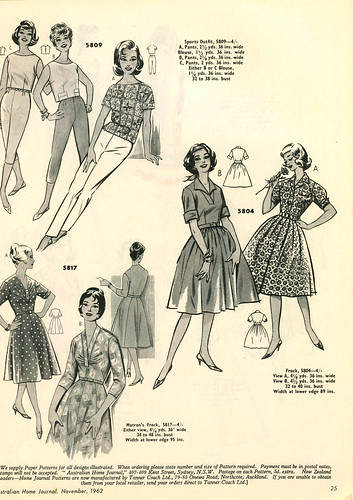
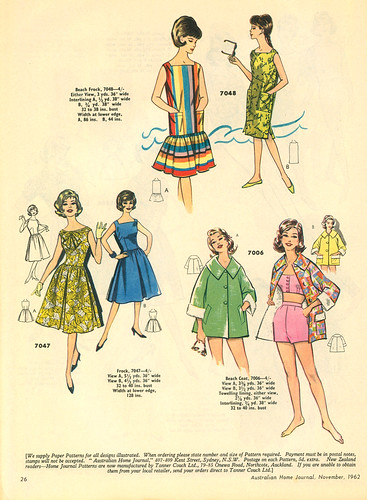
Note - all images are ones that I have scanned from a copy I have of The Australian Home Journal November 1962. And again, the original patterns came with too - I'm going to make the little polka dot pussybow blouse when I get around to it.

Sewing with Vintage Patterns - Part 1

Monday, July 19, 2010
Sorry this is so late everyone! I thought I had scheduled it to pop up on Friday, but I guess I hadn't.

I hope you enjoy the first part of the series - though I've kept it very simple, keep your eyes open for the next installment which will be here at the end of the week.

Now onto part one of my series on Sewing with Vintage Patterns:

Home Journal November 1st 1949

Before we start, a little disclaimer - I am in no way a pro or an expert on the subject so please take what I say with a grain of salt and a touch of whimsy.

I only started sewing with vintage patterns last year and this little series will merely be full of what I hope will be helpful tips and tricks that I have gleaned along the way. There are probably a myriad of tips out there already, and a lot of the things I have to say you may probably already know - but bare with me - I had fun writing them!!

Home Journal November 1st 1949 2

Part 1, Choosing the pattern -

1) Difficulty level.

We've all seen them - those patterns that make you melt, that make you want to have the dress on the front so badly that you'll do just about anything to get it - the ones with the complicated pleats and ruffles, the ruched and gathered necklines, the scalloped edges - the ones that are really really too far out of your skill set...?

If you are starting out, it really is better for your sanity (and those around you, I dare say) to choose something simple. While it would be lovely to be able to jump right in and tackle that ruffled filled, ruched dress, it will only make you never want to sew ever again. Trust me. I've had my fair share of crying (literally bursting into tears!) out of sheer frustration for jumping into something that I knew was well above my skill level, I probably didn't sew for weeks after that.

Like anything, you must learn to walk before you can run (phew, I very seriously need to take a leaf out of my own book on this one!!) - it's best to build up your knowledge bit by bit.

You'll find it amazing how much this helps with your sewing confidence. Though just because you choose something simple, it doesn't mean it cannot be striking - try a fun fabric or add some lace, and a full skirted dress with a simple bodice will always pack a punch.


Home Journal November 1st 1949 3

Home Journal November 1st 1949 4

2) Style

If you are going to go to all the trouble of making yourself an item of clothing using a vintage pattern, at least make sure its in a style that suits your figure and that you would be comfortable wearing. There is no point making a skin tight pencil dress a' la Joan Holloway, if you'll never wear it.

The joy of making your own clothing is the wearing of it, the compliments you'll get and the feeling of elation when you can say 'Thanks, I made it!'. There are oodles of vintage patterns out there, find something you'd wear on a day to day basis and go from there.


Home Journal November 1st 1949 5

Home Journal November 1st 1949 6

3) Size

I will have a whole post coming up on sizing your vintage pattern at the end of the week - this section is just for when you are choosing and buying a pattern.


As everyone who has ever worked with a vintage pattern will know, the size number means nothing! Just because you are a size 12 these days, does not mean you would have been a size 12 back in those days. Vintage patterns are not like modern patterns where you can buy one pattern which has a range of sizes. Most vintage patterns come pre-cut and in one size.

When buying a vintage pattern, you should go via the bust size - all of them should have it labelled on the front of the packet (and for some reason, they also feel the need have a token size number - which, as I mentioned above, really doesn't mean anything, so please ignore it). When starting out making garments from vintage patterns, I recommend only going 1inch either side of your bust size - this will make it much easier for you when it comes to re-sizing your pattern to fit your proportions. For example, I have a 35inch bust and therefore try to only buy patterns with either a 34 or 36inch bust (though I have many lovely vintage patterns that are very much outside of this range. I'll tackle them at a later date when I feel more comfortable with re-sizing patterns).

Buying something too far out of your size zone will cause endless headaches for beginners and advanced sewers alike and that, my friends, does not lead to increased sewing confidence - it leads to crying in frustration and not sewing for weeks in defiance. Eventually the garment will end up hidden in a box somewhere in the recesses of a dark wardrobe, only to conjure up bad memories in the future when you find it again, which then probably leads to more frustration and more not sewing in defiance - a vicious and violent cycle....

So that is the end of part one - a few simple and basic tips for choosing the right vintage pattern for you. I hope you found that somewhat useful, and now that you have your pattern, stay tuned for next week when I'll give you the run down on fitting your vintage pattern to your specifications!!

XX Jen

* All of the images are ones that I have scanned from a copy of the Australian Home Journal, November 1st 1949. I had a small-ish collection already of about 3 that I had found last year, and for some reason this year, I seem to be finding them everywhere. I absolutely love them, especially when they still have the original patterns, as this one does.

I am planning on making the little pink striped sailor dress soon and am planning on sharing some more scans from these magazines. A few of them are slowly disintergrating (the cover fell off this one as I was scanning it) and so I feel like its the best way to save these beautiful objects for others in the coming years.

I hope you will enjoy them as much as I do. Especially the advertisements - they make me laugh. I can just imagine Don Draper and Peggy sitting around designing them (albeit, 10 years later).

Check out my Flickr stream for more images from this magazine.

July Sewing Challenge - Dress #1

Tuesday, July 13, 2010
Hello All,

Well, here it is, the first dress from my July Sewing Challenge (which is actually my second attempt at a dress. My first one went all weird - perhaps due to my complete and utter lack at being able to follow instructions. I just tend get a little bored with instructions sometimes and think I know more than I actually do. It's fixable but I need to wait for some white vintage cotton to arrive on my door step).

Dress 5

Dress 6

Dress 3

I used the pattern on the right - the blue dress in the middle and then added the little cap sleeves from the pink dress. I think this is the perfect edition to my summer work wardrobe and I'm very excited about wearing it.

I used a vintage polished cotton to make this one and unfortunately didn't have quite enough to make the little dart folds in the front skirt of the dress. But I got a little creative and I think it looks relatively true to form - what do you think?

I was going to include the first part of my Sewing With Vintage Patterns series in this post, but it would have been way to long, so look out for the first installment at the end of the week :)

XX
Jen

And Sew it Begins...

Monday, July 5, 2010
July Patterns

How do you like my title? Do you see what I did there? I'm so clever...

Any way, my sewing challenge has begun - I'm five days in and no clothing has been bought! As for the second part of my challenge, I have only chosen 3 patterns so far. This is not because I don't have very many (ha, far from it) but because I am waiting for a few vintage 'new to me' patterns to arrive - I may also be tempted to swap out the pattern on the left for another of the ones yet to arrive.

I am now itching to get sewing again, I've found so many blogs out there that are inspiring me - a very good way to get my sewing mojo going again.

My weekend was lovely, I had lunch with the lovely lady behind this blog on Saturday (she doesn't post very much anymore though, but I suggest going through her archives - gold!). Then on Sunday David and I went to Coogee beach, our first Australian beach visit since we've been here and in the middle of winter (I've also since been told that Sydneysiders do not consider Coogee to be a beach, its apparently more of a bay. I consider myself told). Photos to come this week sometime.

We then went to dinner with David's Masters supervisor, who is in town because they are both presenting at a conference this week. It was nice to catch up and get some ideas for travel next year (David for research and me just because I can). It's all very exciting and really lovely to hear that David's name has been bandied about by people within similar research fields who are very happy to help out.

Anyway, I'm off to sew...


XX
Jen

Ps) David and I finished watching S3 of Mad Men on Saturday and by golly, what an interesting season. So many random, unexpected events (feet being run over by a lawn mower anyone??). We are now waiting for s4 to come out (only 4 weeks away) and in the mean time we are starting the next season of True Blood. Tis good.

Auto Post Signature

Auto Post  Signature