Here is Part 2 - Resizing your Pattern, of my little series on Sewing with Vintage Patterns. If you missed Part One, go here.
*Before we start, a little disclaimer - I am in no way a pro or an expert on the subject so please take what I say with a grain of salt and a touch of whimsy.
I only started sewing with vintage patterns last year and this little series will merely be full of what I hope will be helpful tips and tricks that I have gleaned along the way. There are probably a myriad of tips out there already, and a lot of the things I have to say you may probably already know - but bare with me - I had fun writing them!!
Part 2 - Resizing your Pattern
If you wear vintage regularly, you’ll be aware of the fact that dresses from yesteryear do not tend to cater for modern day sizings - the waists are tiny for one thing. This also rings true for vintage patterns, which means it is more than likely you’ll need to make some fitting adjustments if you are planning to make something using one.
The most important thing to understand when trying to fit your pattern is that for the most part, these patterns were designed to be worn using vintage undergarments – resizing your pattern will take time, patience and practice.
1) Read the instructions
I know, sounds rather simple and like one of those ‘Well duh!’ suggestions. But if you are anything like me (impatient!) you’ll probably tend to skip this little bit – especially if you have chosen what looks to be a simple pattern.
I have found giving the instructions a good once over before I even pull out the pattern pieces, a really good idea. Work through the instructions in your head and imagine yourself doing what they are telling you to do. This way you will be able to find any steps that may be difficult or that leave you feeling confused, and you can hopefully sort these out before you even get started.
In my somewhat limited experience with using vintage patterns, I’ve found that most pattern instructions will give you some basic fitting guidelines. Most of the time these refer to changing the length of the garment (either the bodice or the skirt, depending on what you are making). I would always suggest you follow these guidelines if you need to make any length adjustments, because the pattern maker did know what they were doing afterall.
Pattern intructions will also tell you if they have any seam allowances already built into the pattern or if you need to add your own - which comes in rather handy when resizing and cutting your pattern later on.
2 Reference Books
I suggest having a really good sewing reference book at the ready (or at least the internet). I have a few vintage sewing books that I find immensely helpful, especially for sewing with Vintage patterns. This is because both the books and the patterns use the same language, so it’s easy to look up what you are trying to do.
Vintage sewing books should also be full of techniques that your pattern will be calling for. They will guide you through the technique (most of the time with diagrams) so that your sewing project will go as smoothly as possible.
If you have found a few stages in your pattern instructions that you don’t understand – now is the time to figure it out.
3 Resizing your pattern
If you’ve stuck to my suggestion of only going one inch either side of your bust size, resizing a pattern is generally easy-ish.
- Take out the pattern pieces. Measure the waist and (hips if its a fitted dress) taking into account any darts - they often run small so it’s good to check.
- It also pays to measure the length of the bodice/skirt pattern – everyone is different and patterns may need to be lengthened or shortened – as I mentioned above, your pattern instructions will normally tell you where to add or subtract length.
- At this point, if you are really nervous, or new to sewing, I would strongly suggest cutting out a muslin version of your pattern before you use your real fabric. I cannot profess to ever having made a muslin before myself (read: far to lazy and impatient!!), but it is actually a rather good idea when it comes to fitting.
- If you are adding or subtracting an inch from your bust/waist size, do this at the side seams. Make sure to allow for any seam allowances and add ¼ of an inch to each side on both the front and back pattern pieces. This process will not always mean getting away with not having to do any re-shaping of the bodice darts, but it should make any reshaping minor.
- Baste your muslin pieces together, then try it on. I would suggest trying it on the ‘right’ way first and wearing the undergarments you plan to wear with the piece. This will show you immediately if and where you are having any fitting issues.
- If it’s perfect, then move onto making the item in your real fabric. If not, and you do not have a dress makers form, turn the pattern inside out, put it on and start fitting.
I find it difficult to fit a pattern properly when I’m doing directly on myself, but I know that adjustable dress makers forms can be on the expensive side.
The main reason I don’t suggest going any more either side of an inch is because this will often mean needing to fiddle around drastically with the shaping darts on the bust and waist and this is not an easy task if you do not have a dress makers form.
I hope that was helpful! Next week - choosing the right fabric!!
XX
Jen
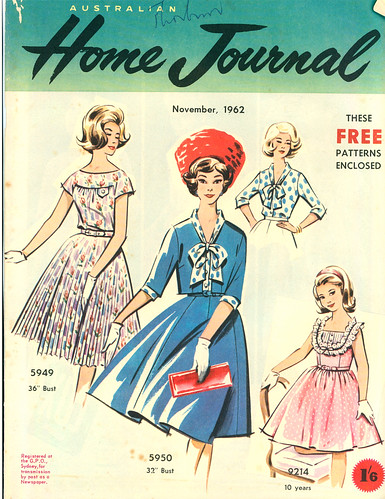
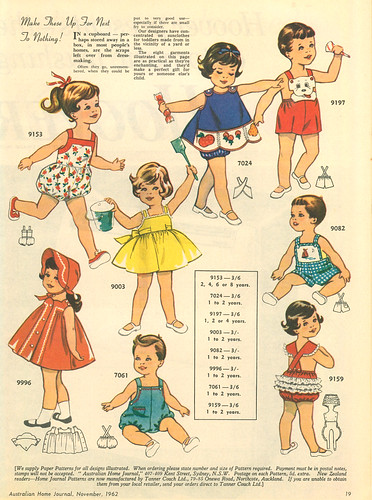
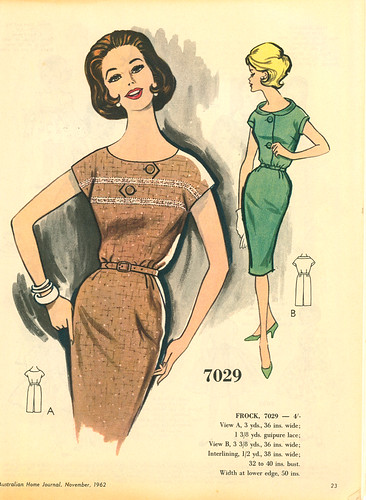
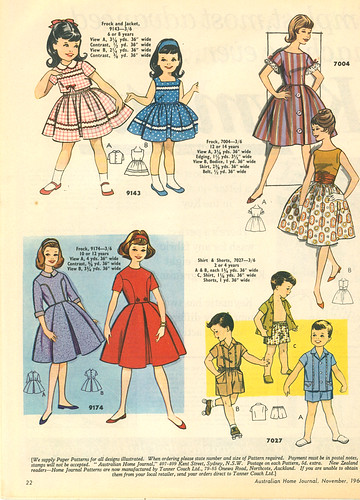
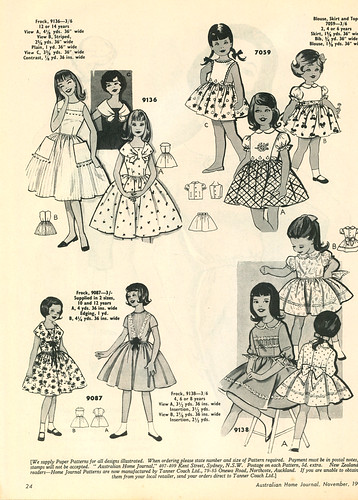
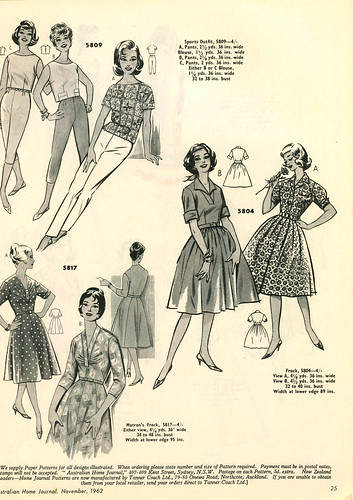
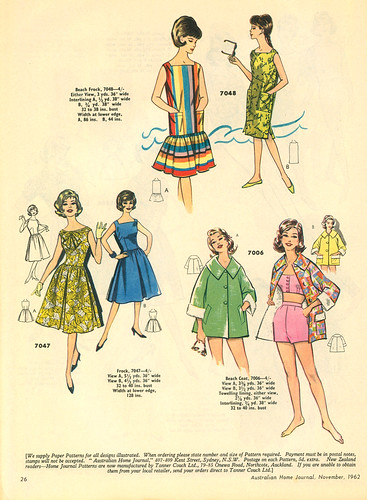
Note - all images are ones that I have scanned from a copy I have of The Australian Home Journal November 1962. And again, the original patterns came with too - I'm going to make the little polka dot pussybow blouse when I get around to it.



Great tips! Thanks!
ReplyDeleteErica
danired922.blogspot.com
Thank you for the tips! I intend to start a project soon, so all help is needed :)
ReplyDeletei just love old fashion magazines!
ReplyDeleteLove the tips, thank you xx
ReplyDeleteThanks for the tips! I'm psyching myself up to plunging into sewing a dress from a vintage pattern. I've got the pattern - not over complex except for the shirred puff sleeves (modern patterns supply step-by-step instructions for each stage. The instructions on this pattern from c1940 read simply "shirr the sleeves" then move on!).
ReplyDeletexx Charlotte
Tuppence Ha'penny
This tutorial is great! Has really helped! You should do some more :)
ReplyDeleteMy Blog: waistcincherhq