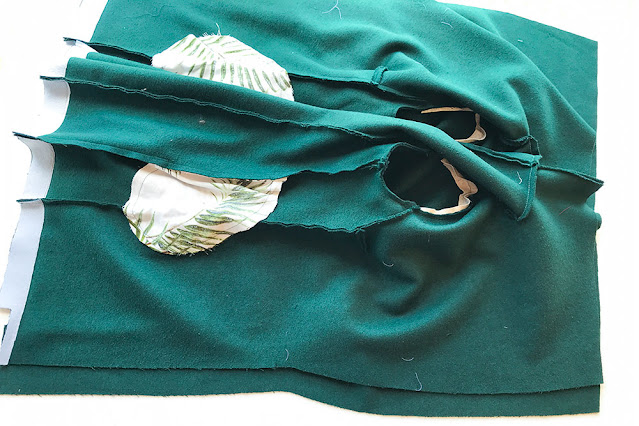
If you prefer a more understated coat or want your collar and buttons to shine, then you may want to consider adding in an in-seam pocket, rather than a patch pocket to your Willa Wrap Coat.
I like to in-step my pockets into my seam by 5mm (3/8) as I find they tend to sit flatter this way and they won't be seen, so you can use any kind of fun fabric you like! You can use this technique on any in-seam pocket - it is the one I use for pretty much all of my patterns!
You can download your In-seam Willa Wrap Coat pocket piece for free here!
Steps:
1. Download and print out your FREE pocket lining pattern. There is a Curve pattern and an Original pattern, these are slightly different depending on the pattern you are using. Print pages 1-2 for the Original pattern and 3-4 for the Curve pattern.
If you have enough fabric left over from the lining you're using for Willa, cut 4 pockets from that (this is what I am doing). Alternatively, choose a different light weight fabric - you won't really see it from the outside, so it doesn't matter if it doesn't match. If your outer coat fabric isn't too thick, you could also make pockets with that.
2. Choosing the placement here can be a little tricky, as there are no matching pocket/coat notches along the side seam. I've designed the pocket pattern piece so that the top raw edge of the pocket (in pink below) matches to the side seam notch on the coat (black notch below) - this is circled in red. The notches on the pocket itself are stitching guides.
You can alter the placement of the pocket to suit you, but the outer edge of the pocket will need to be re-shaped to fit the shaping at the side seam.
3. Right sides together, match up your pocket along the side seam of your front and back coat. Pin in place.
* If you want to finish your seam allowances, finish the pocket bag seam allowances now, removing as little fabric as possible.
4. Using a seam allowance of 1cm (3.8") and back tacking at each end, sew your pocket onto the side seam of the coat. Press the pocket out, leaving the seam allowances to the pocket side.
Sewing at a smaller seam allowance here will instep your pocket into the finished side seam by 5mm, meaning it won't be seen at all within the seam when worn.
* If you're wanting to finish your seam allowances, finish the entire side seam/pocket seam allowances before pressing the pocket out, removing as little fabric as possible.
5. Right sides together, match your back and front coat along the side seam and pocket. Pin in place.
6. Starting from the top, and back tacking at each end, sew down your side seam and around your pocket in one go. Use the notches on the pocket as a guide for when to pivot into your pocket and back out again.
Use a 1.5cm (5/8") seam allowance here.
Because it's hard to see my stitching lines above, here they are in pink.
Here's a close up of the pink side seam stitching lines with the in-stepped pocket seam in white.
7. Trim down side seam seam allowances, grading down the front seam allowance shorter than the back. Due to the pocket insertion, the entire side seam will be pressed to the front, rather than pressed open.
8. Press pocket and seam allowances to the front.
Ta dah! Look at that lovely side seam, you can't even tell there's a pocket in there!
Oh hello lovely hidden pocket. You can see how it's in-stepped into the seam here, making it completely invisible when worn.
Attaching Pockets to the Inside (so they don't move around!)
Stay tuned for this! We will get to this step once we've attached the lining to our coats - this is because the pocket string is attached to the front facing/lining seam.
If you were sewing along and had to hit pause because you were wanting to add in in-seam pockets, once you've done that, you can move on to setting in your sleeves and then continue on with the sew along as normal.
You can purchase your Willa Wrap Coat sewing pattern here.
xx
J


