

This is the part of coat sewing that I really have to push myself through, and it's not because the techniques are hard, it's because once you attach your outer coat to your lining, everything just gets so heavy and big. Especially so if you have extra heavy/thick fabric like I do.
But, we will plough on through our Willa Wrap Coat journey, because it's worth it, and guess what? WE'RE ALMOST THERE!!
Steps:
1. Right sides together, match your outer coat to your lining around the outer edges of the coat (aka the front edges and outer collar)

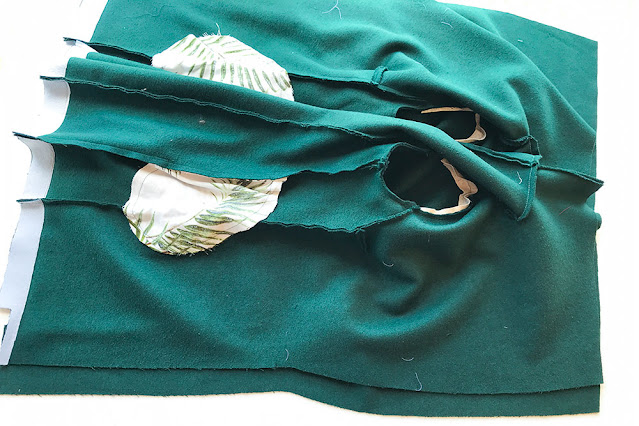
2. Pin together. The lining is shorter than the outer coat (which is how it's meant to be, don't panic!) but the bottom of the facing should match to the bottom of the stepped up outer coat front corner.


3. Back tacking at each end, sew up one side of the front edge, pivot to sew along the collar and then pivot to sew back down the other front edge.

4. Trim down the seam allowance, notching the corners. Turn your coat right sides out and press.

And that's us for the week! Take a sewing break over the weekend, instead, clean up your space & clear out the lint hiding in your sewing machine. Next week's a big one, but we're oh so close to finishing...
You can purchase your Willa Wrap Coat sewing pattern here.
xx
J


Post Comment
Post a Comment
Thank you so much for stopping by to leave me a comment, like most people, I really do appreciate them all!
Due to the large amount of spam I receive here, unfortunately I have had to turn comments off. If you'd like to get in touch with me, please send me an email :)
Note: Only a member of this blog may post a comment.