You may wish to line your Willa Wrap Coat Patch Pocket if you have a bulky fabric or one that frays a lot. Lining it will secure the outer raw edges of your pocket, meaning you don't have to worry about fraying AND you can trim out much more of the pocket seam allowance, reducing bulk at your pocket edges.
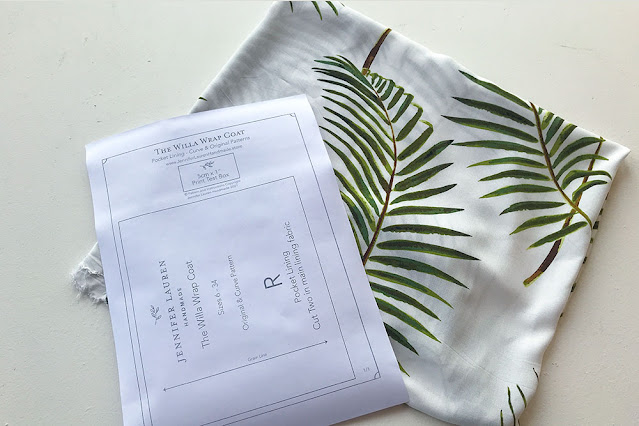
You will need to download your free lining pocket piece here. This works with the Patch Pocket piece included with the Willa Wrap Coat pattern.
Steps:
1. Download and print out your FREE pocket lining pattern.
If you have enough fabric left over from the lining you're using for Willa, cut 2 pieces from that (this is what I am doing). Alternatively, choose a different light weight fabric for the lining - you don't really see it from the outside, so it doesn't matter if it doesn't match. If your outer coat fabric isn't too thick, you could also line it with that.
2. Match the top edge of your lining with the top edge of your pocket, right sides together. Pin in place.
3. Back-tacking at each end, attach your lining to your pocket using a 1.5cm (5/8") seam allowance, leaving a gap in between (make sure you back tack at the gap too - it will need the extra strength as this is there you will turn your pocket out).
I like to leave a gap of about 2.5cm or 1". Depending on the thickness of your fabric, you can do more or less.
4. Trim down seam allowance.
5. Pull the lining down to the bottom of the pocket, matching the raw edges. This will bring down a top 'hem' on the pocket, and this should fold where the notches are marked on the sides of the patch pocket included with Willa. Pin in place.
6. Press your top 'hem', then pin around the rest of the pocket at the sides.
7. Back tacking at each end, place a line of stitches around your pocket, starting at one side, sewing down to the bottom, then back up the other side. Do not stitch the top of the pocket!
8. Trim down seam allowance and notch corners.
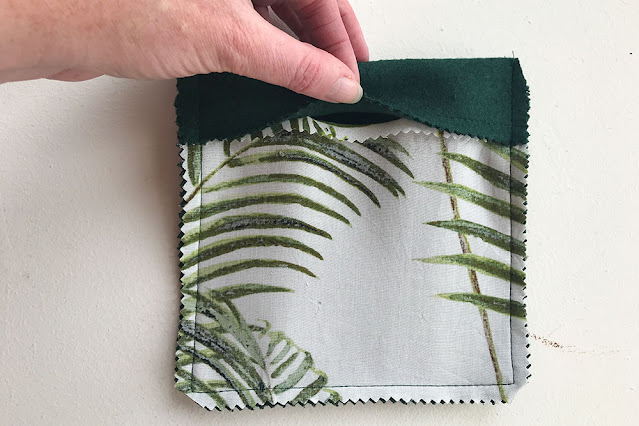
9. Using the gap you left in step 3. Turn your pocket right sides out.
10. Gently push out corners and press your pocket.
11. Sew a line of top 'hem' stitching, catching the gap in the lining to seal it closed. You can do multiple lines or use a decorative stitch here if you like.
12. Sew your patch pocket on to your Willa Wrap Coat as per the post here, from step 5.
You can purchase your Willa Wrap Coat sewing pattern here.
xx
J


Post Comment
Post a Comment
Thank you so much for stopping by to leave me a comment, like most people, I really do appreciate them all!
Due to the large amount of spam I receive here, unfortunately I have had to turn comments off. If you'd like to get in touch with me, please send me an email :)
Note: Only a member of this blog may post a comment.