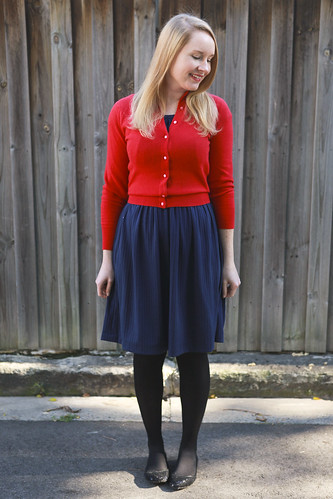
Well, I do.
Actually, so does David. I'm not sure I've ever seen him in a skirt or a dress or anything. But you guys - I MADE PANTS!
Finally, after many years of sewing, I tackled my sewing nemesis.
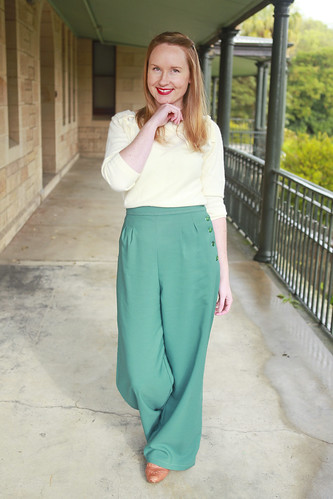
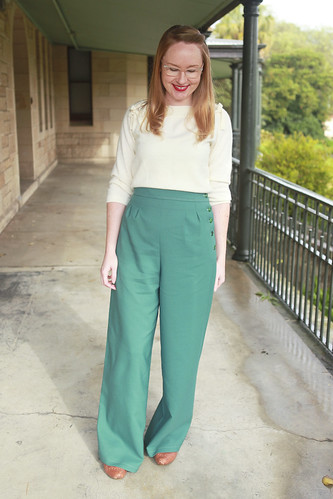
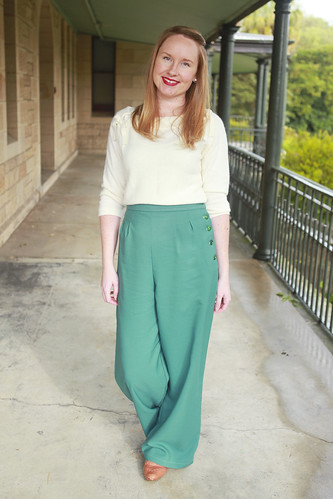
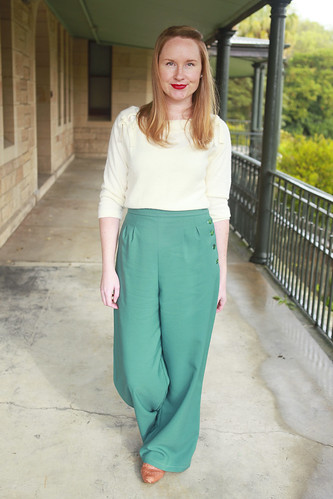
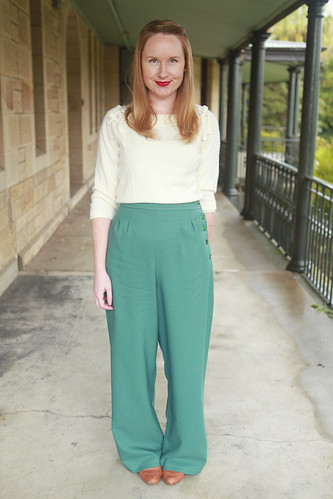
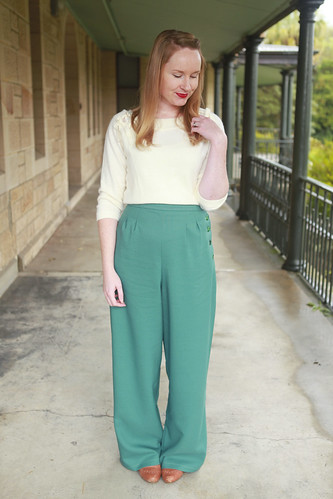
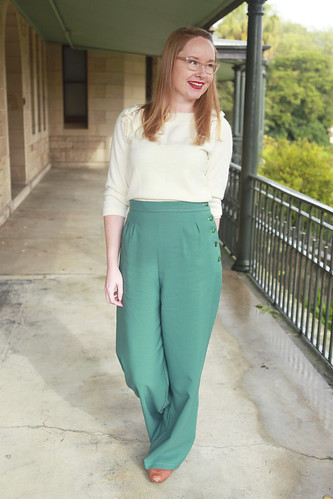
Sure, they aren't fitted pants or anything - I wanted big, wide, swing-y 40's styled pants. But I made them. And they fit. And there isn't any - ahem - wrinkling where there shouldn't be.
While it did take me 3 muslin attempts, I finally managed to wrangle this 40's pants pattern into submission. But it wasn't easy.
Oh dear, this pattern...
The cover image makes them look so sleek and Katherine Hepburn-esque. Even the pattern outlines on the back promise this exact outcome. But in actuality, the paper pattern tapers, majorly, towards the bottom of the pant leg. Leaving you with ballooning hips and skinny ankles. Not a good look people. It's a little Fresh Prince-Harem-Pant gone wrong (was that ever right?). Oh, and they taper on both the back and front pant pieces, in both the inner and outer leg.
And the annoying thing was that I could see this when I was cutting out my first muslin, but I ignorantly thought that it would be fine! The front cover image doesn't taper, so maybe by some miraculous happening, this paper pattern won't taper either (yeah. No magical-un-tapering-ness happened here. Surprise surprise...).
That first muslin made me really question my friendship with this pattern and making pants and so we took a break. We both needed some time apart. I needed to make patterns that weren't
completely different to the front and back cover images. And the pants pattern needed some time alone to think about what it had done.
After a few weeks, we sat down together, sort of made up, and muslin 2 came into being. I made a completely new muslin, straightened out the outer leg taper on both front and back pieces (at this point, I hadn't connected the dots to realise that the inner leg tapered as well, because it didn't taper quite as much as the outer). I also added some extra hip and waist room. I tried them on, and to my surprise, we were nearly there.
Onto muslin 3 and I unpicked the inner legs, basted on some extra muslin and straightened out the slight taper there. Now the legs were pretty much perfect. Looking much more Katherine Hepburn than Fresh Prince.
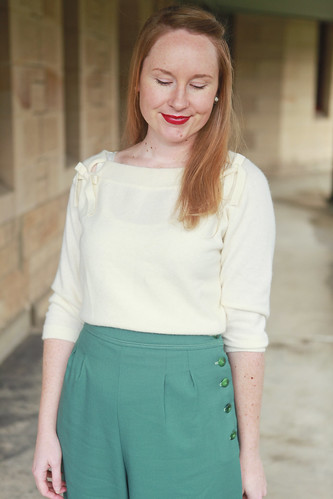
I wanted a fancy button up side fastening, so I drafted 2 extra button plackets (which, less face it, were just 2 rectangles of interfaced fabric), sewed one each onto the front and back side, ironed them down and joined them at the botton on the inside. Then I added my button holes, sewed on my buttons and et voila! PANTS!
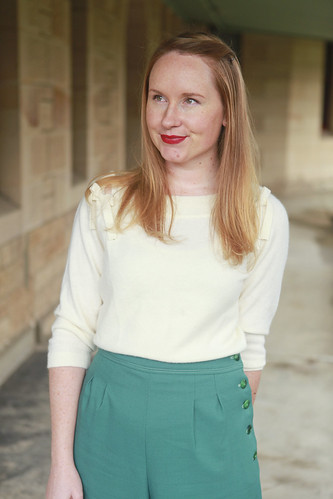
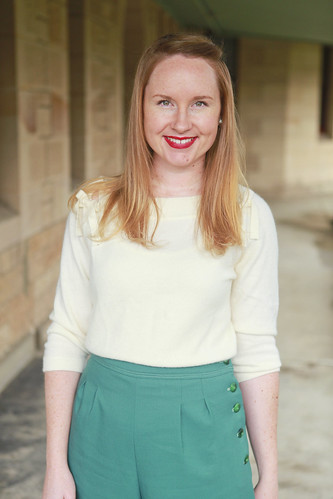
Oh, these pants I'm wearing? Yeah, I made them.
Did I tell you that I made these pants????
I'm so glad I kept going with these. They have just the right amount of swing in the leg, but not so much that it's annoying. They fall nice and straight, and the green wool I used is just such a lovely shade of sage green. I really like the slight contrast stitching I used and the deep green buttons, which are also glittery in the sunlight (I bought them for my green version of the
Afternoon Blouse).
I am now going to make them up in a black pinwhale cord. Cord is obviously much stiffer than my swingy green wool, and it has some stretch in it as well, so I'll need to play around with the fitting of the waist and hips, but I'm hoping they'll turn out just as lovely as these ones are.
Do you guys have any sewing nemeses? Have you tackled them? Did you have any success?
xx
Jen

