

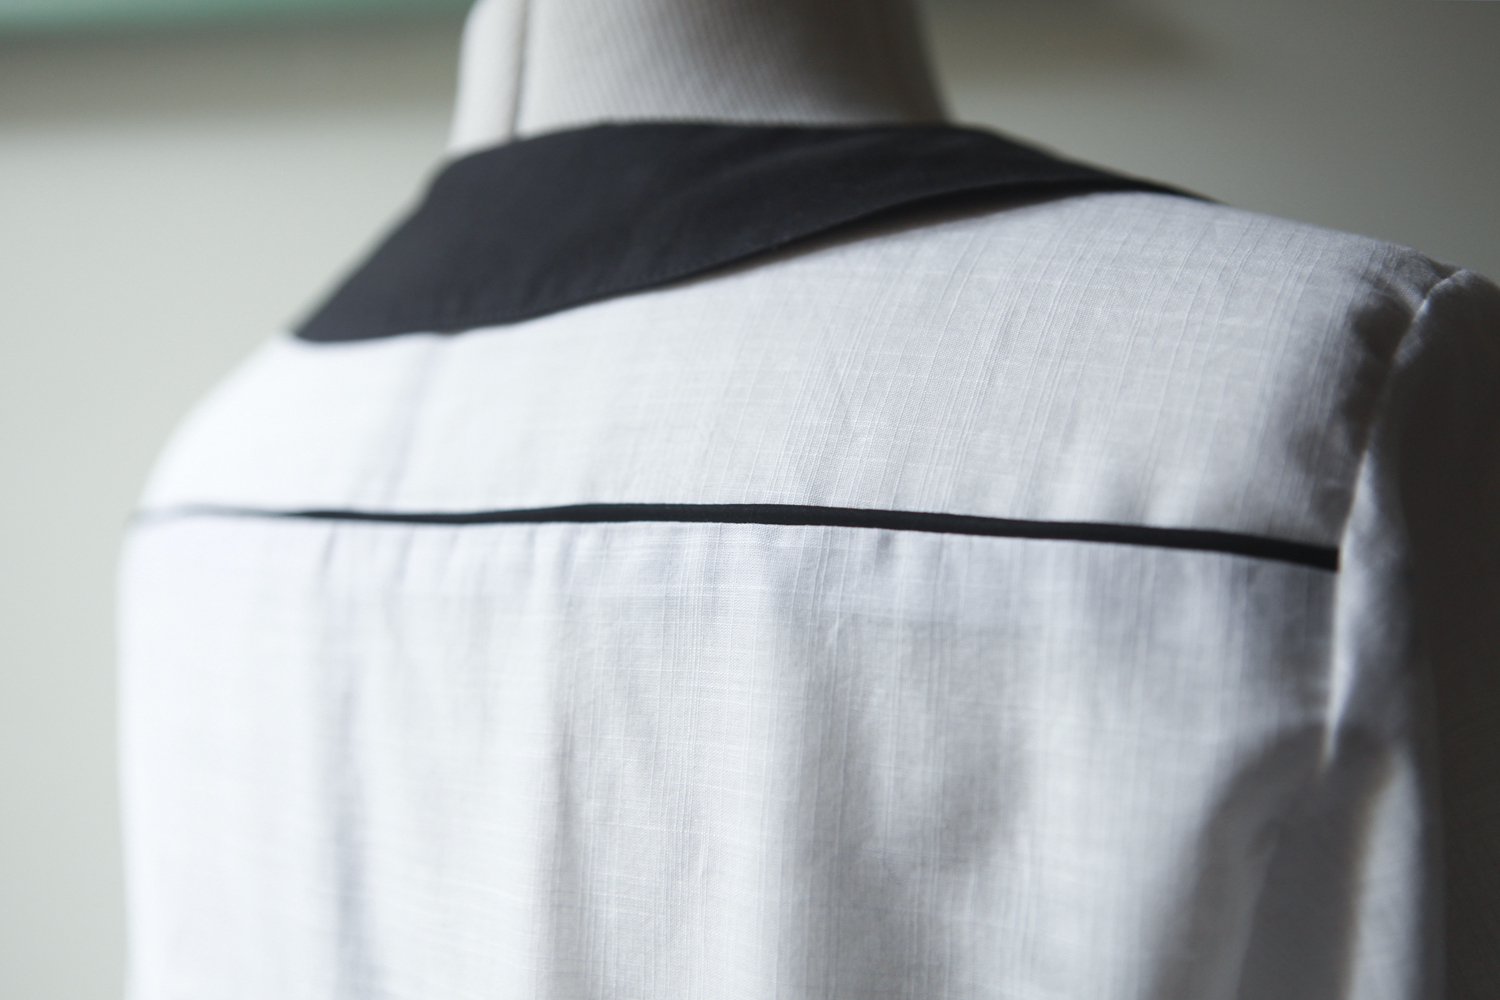
I used a contrasting black piping on the back of my Airelle Blouse and decided to document the process so that you can see how easy it is to make and insert inseam piping yourself.
Piping can add a sweet little detail to your garments. You can either choose to make it from a contrasting fabric or from the same fabric for a more subtle effect. Insert piping into yolk seams in shirts, waist seams in skirts and even along neck lines in dresses or other tops.
Supplies:
- Bias Binding in your chosen fabric (I have a tutorial on how to make your own using your chosen fabric here)
- Matching Thread
- Cord (you can get this in many different colours from your fabric store)
- Scissors
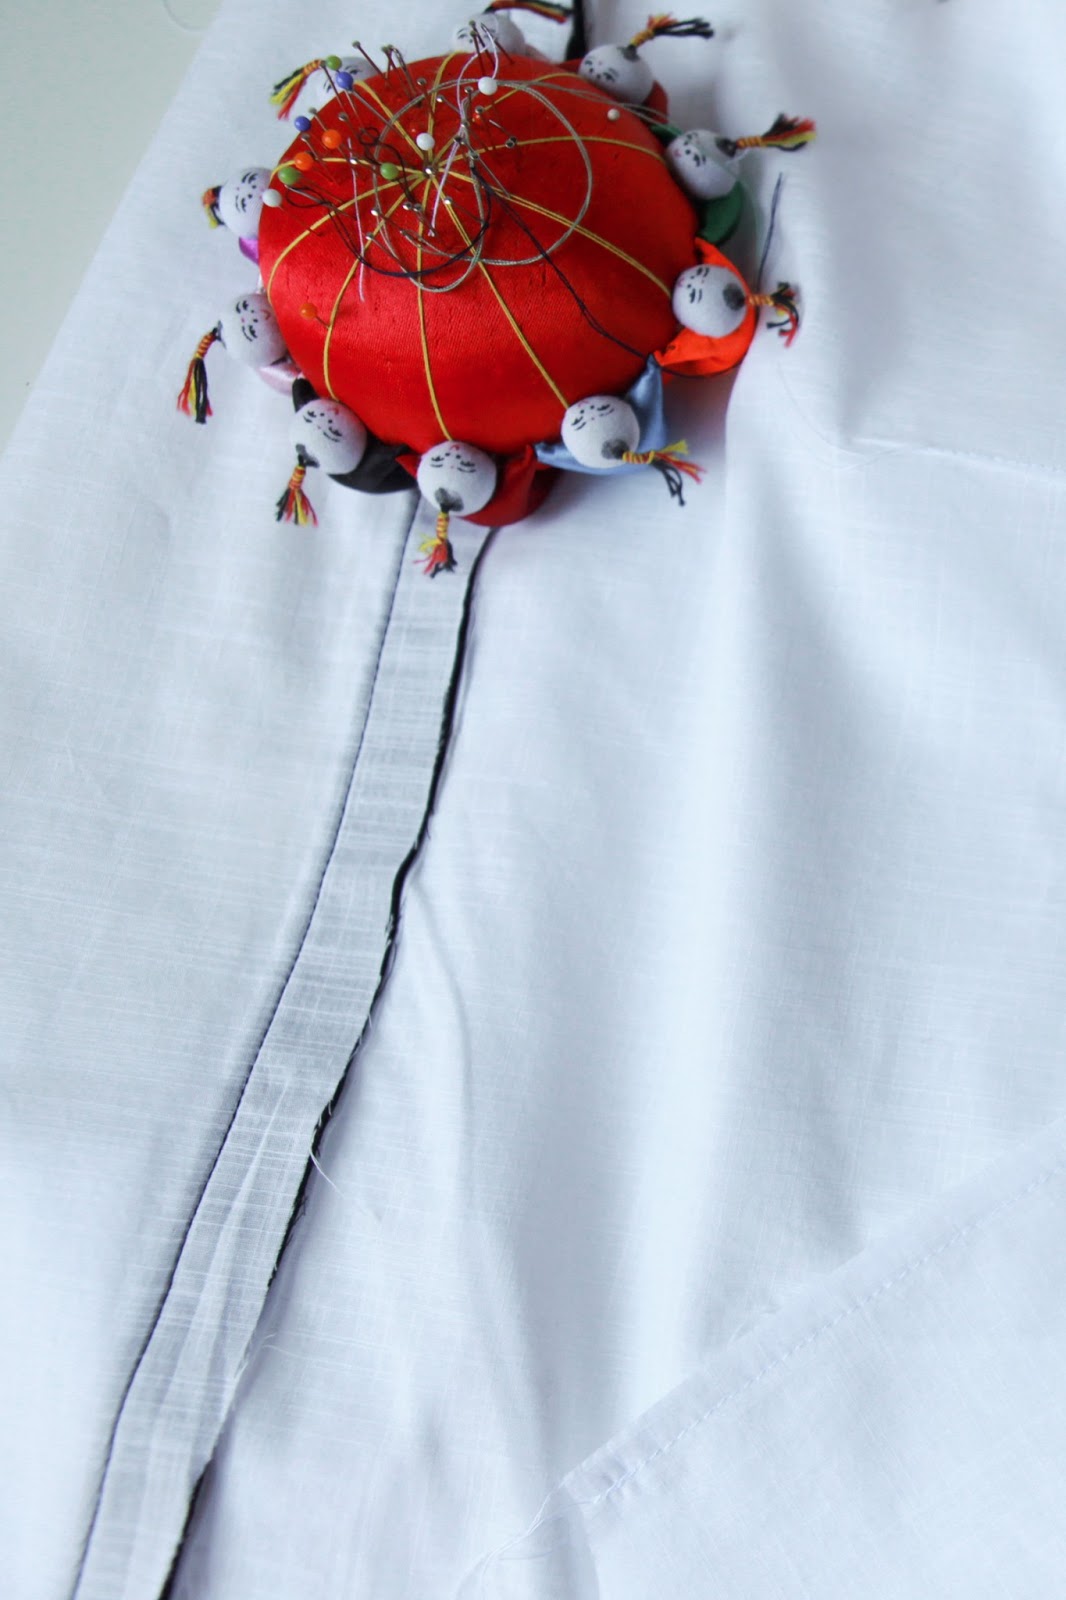
- Pins
Steps:
1. Cut a strip of bias binding from the fabric you wish to turn into your piping. You will want your strip of fabric to be at least 2 inches wide (and as long as you need for your project plus a little extra).

2. Fold your bias binding in half, wrong sides together and lightly press (you only want a light crease, don't iron in a heavy line otherwise your piping won't be nice and round).
Use your ironed crease to line up your cord inside your bias binding.

3. Push your cord against the ironed line as close as possible and then pin in place.

4. Using your zipper foot, sew as closely as you can to your piping. Don't catch or sew over your piping though.

5. Trim the raw edge of your piping down to match your garments seam allowance, measuring from the stitching line you just sewed. For my garment, a 5/8" seam allowance is provided, so, on my piping, from the raw edge up to the line I sewed above is 5/8".

6. Sandwich your piping between your seams, right sides together, lining up your raw edges. Using your zipper foot again to guide you closely to your piping, sew along your seam matching up your seam allowance accordingly.
Because you trimmed your piping raw edge down to match your seam allowance, you shouldn't catch your piping, but go slowly, there is no need to rush.
7. Turn your garment right side out, gently iron your seam allowance down and marvel at your lovely piping detail.
Jen


What a wonderful, clear tutorial! Thanks for providing it, I can see myself trying it out on a blouse or two soon :)
ReplyDeleteLovely tutorial! Especially enjoyed where you told us there wasn't a rush. I always forget that when I'm sewing. :)
ReplyDeletePiping is such a lovely detail. I'm thinking of using it on my next dress to add some interest. Thanks for the refresher course :)
ReplyDeleteFantastic! Thanks, Jen.
ReplyDeleteThis is brilliant, I've been wanting to try this for a while but couldnt figure out the part where you sew it all together, thanks for the tutorial!
ReplyDeleteThanks great tutorial . I had no idea how you did this and thought it w well beyond me, but you have explained it so clearly I it hing to have a go.
ReplyDeleteI've never attempted piping as it has seemed too fiddly but your tutorial looks so simple! I love your blouse too :)
ReplyDeleteAwesome tutorial Jen! I was planning on doing some piping for the first time on my 1P7B project so this has come round just in time. Thanks :)
ReplyDelete