Image Slider

Showing posts with label Sewing Detail. Show all posts

Afternoon Blouse Pattern Hack - Adding Waist Ties

Wednesday, June 4, 2014
So, you want to make an Afternoon Blouse, but you have one problem - you're never going to wear it tucked in so you'd like it to be a little more fitted.

While you could easily grade it in a size (or two) at the waist, have you ever thought about adding in waist ties?


Adding waist ties to your Afternoon Blouse (or any top for that matter!) is easy, cute, and has the added bonus of you being able to let them out a little after lunch time, while still looking chic!

Supplies:

Steps:
1. First up you'll need to decide how long and how wide you want your waist ties to be. Once sewn up, mine are 70cm (27.5") long and 4cm (1.5") wide. Once you've decided on these measurements, you'll need to add on your seam allowance (I used 1cm (3/8")). So my rectangle pattern measures 71cm long and 10cm wide total (the width is doubled since it's folded over).

2. Draft up your rectangle pattern onto paper, then using that pattern, cut out 2 waist ties from your chosen fabric.

Optional Step - if you want your waist ties to have some extra body, add interfacing to the wrong side of each one before continuing.

3. Fold in half length-wise, right-sides together and press.

4. Feel free to leave the ends of your waist ties square, but I decided to make my waist ties with an angled tip. To do this, cut off a triangle at the end, angling out from the raw edge of your waist tie towards the tip. How sharp you want your tip is entirely up to you!


5. Starting at one end, leaving the shorter edge open, stitch raw edges together.


6. Trim seam allowance and corners


7. Turn waist tie right-side out and press.


8. Repeat with other waist tie.

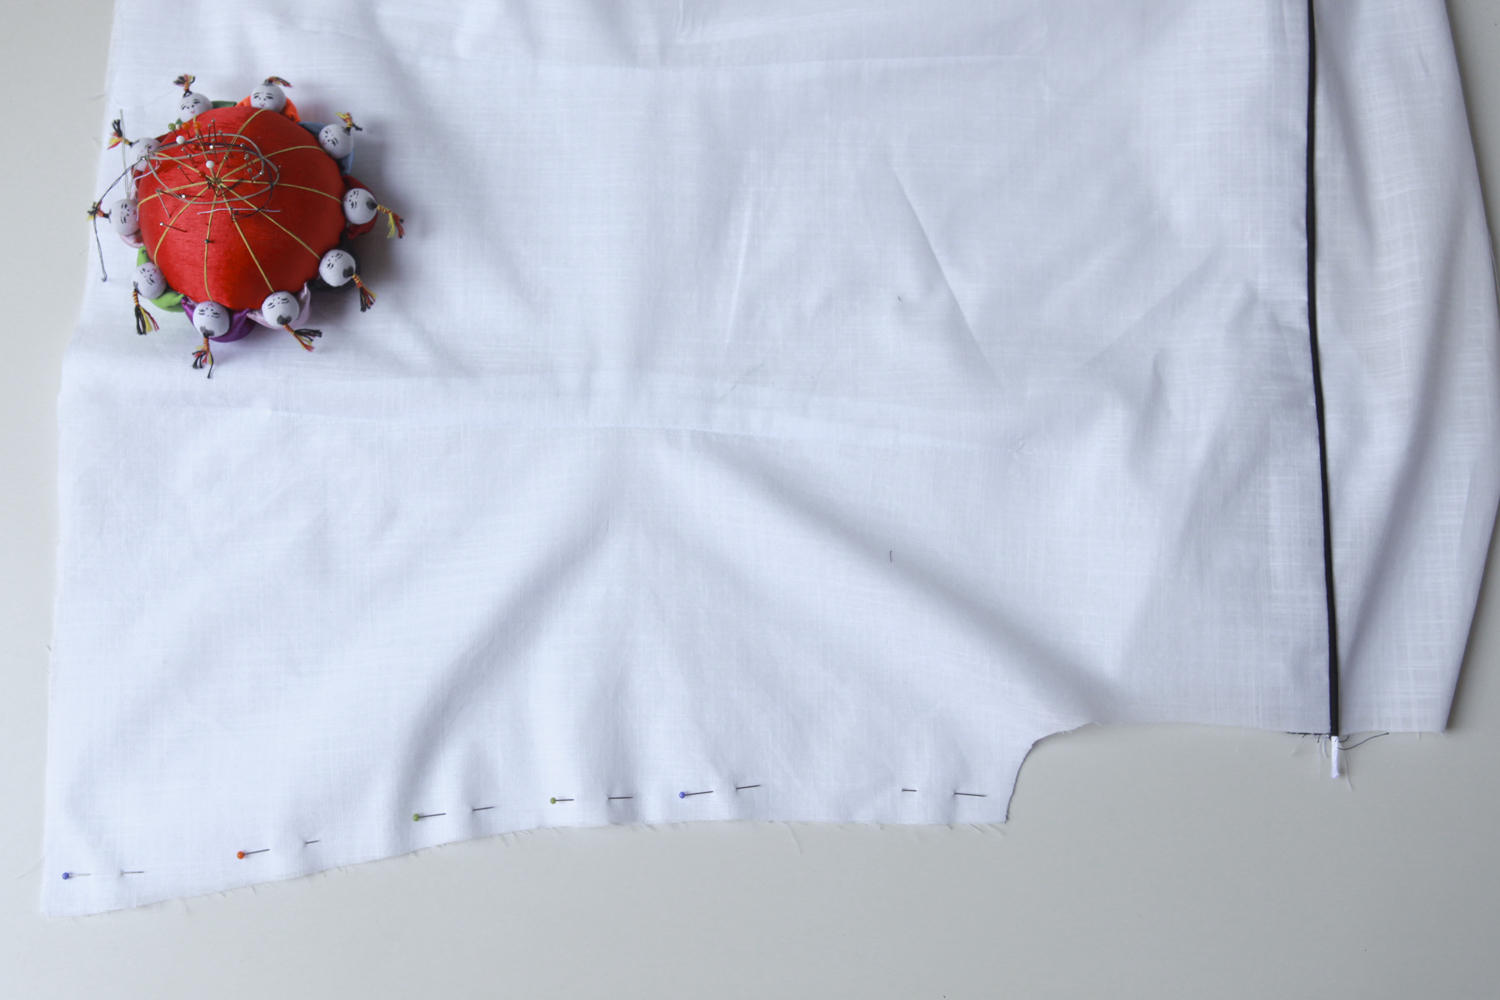
9. Sew up your Afternoon Blouse as per the instructions until you get to the step where you sew up the sides. Locate where your waist sits on the side of the blouse and pin waist tie to the right-side of the front bodice, matching up raw edges.

Note - if you've angled your tips, make sure the longer end is on top, as per the photo below.


10. Baste in place into the seam allowance. Repeat for other side making sure waist ties are matching up.

11. Sandwich your waist ties in between your front and back bodice, being careful not to catch the loose ends of your waist ties in your side seam, sew up your side seams and finish the blouse as per the instructions.


Ta da! One cute Afternoon Blouse with waist ties coming up!

xx
J

The Afternoon Blouse is Here...

Friday, April 4, 2014
Well folks, you can now buy your very own Afternoon Blouse pattern right here. Just in time for some Easter Weekend sewing!


Thank you so much for all of your sweet comments last week when I announced that I had been working on my first pattern. It's really rather a nerve racking thing to have worked to hard and spent so much time on something and not know how people are going to react. I said it in my last post and I'll say it again - your comments have been so supportive and really very humbling. THANK YOU!

I've decided that I'm not going to be running a sew-a-long per say, mostly because it's such an easy pattern, but I will be writing a number of posts about the blouse on things like stabilising seams (especially useful if you plan to make the blouse using silks, rayons or other 'slinky' fabrics), pattern hacks (a sleeveless version anyone? Or how about adding waist-ties for a bit more definition if you want to wear it untucked?) as well as a tutorial on printing and assembling your Afternoon Blouse Pattern as I've chosen to lay my pattern out a bit differently to other PDF patterns, which hopefully means it's easier to put together and you'll have less paper wastage!


So, ummmm, I guess all there is to do now is go get your own copy of the blouse, find that amazing vintage button that for some reason you only have one of, set aside an afternoon and get sewing, huh?

If you make an Afternoon Blouse, well, I'd REALLY like to see them, so please let me know if you've blogged about one, or feel free to email me a picture :)

Yay!

xx
J

The Anna Blouse...

Monday, March 24, 2014


I'm having a bit of 'blog' writers block at the moment. There's a lot to say, but words just aren't coming easily this week. So, a short and sweet sewing blog post with mostly pictures will have to suffice this time round.

This is the Anna bodice turned into a back button-up blouse. Pretty sweet huh?

I actually made and took photos of the blouse before we moved into our new house. I was hoping to find the time to make up a tutorial to go along with this post but unfortunately, that just hasn't happened yet.  If you would like to know how I did it, let me know in the comments and I'll rustle up a tutorial for you.


And just quickly, while we're on the subject of the BHL ladies, have you seen their kickstarter page? I've had the honor of meeting (and fabric shopping with) Elisalex and Charlotte, and they are such lovely ladies! There are some pretty sweet goodies available for all pledges (big and small), so if you can pledge anything towards their project, you can do so here. 

I'll be back this week with a sneak peek of what's been eating up my life at the moment (and has taken up all my words. And it ain't just the house, though that has been taking up plenty enough on it's own). Can't wait to share...

xx
J

Tutorial - French Seams

Monday, August 5, 2013

French seams are a pretty way to finish off your seams if you have delicate, sheer, slippery or prone-to-fraying fabric because the raw edge ends up being enclosed in the seam. I used french seams in my Airelle Blouse because I was using a light weight, semi-sheer voile. They give a lovely professional finish without bulk and they are really simple to incorporate into your garment.

The trick to using French Seams is figuring out your seam allowances before you cut your fashion fabric. You could do this anyway you saw fit, as long as your first seam is smaller (or the same size but can be trimmed down) as your second seam, you should be fine.

For reference, the Airelle Blouse comes with a standard 5/8" seam allowance. For my side seams, when cutting out my fashion fabric, I decided to add an extra 1/8" to my side seams so I had a total of 6/8" seam allowance. Keep reading for more explanation of why I did this in picture form...

1. Rather counter-intuitively, pin your garment wrong sides together.


2. Sew your first seam together. I sewed mine at 3/8" seam allowance (half of my seam allowance of 6/8").


3. Trim your seam allowance down (I trimmed mine by about 1/8"leaving 2/8") and press your seams open.


4. Turn your garment inside out and press your seam flat. Pin in place and sew again at the remaining 3/8".


5. You now have a lovely, perfectly enclosed 3/8" seam.


You don't have to use my measurements for your French Seam though. For example, I cut the standard 5/8" seam allowance for my sleeve seam. I made my first seam 1/8" and then my second seam 4/8", ending up with a larger 4/8" finished seam.

Choosing how much to add to your seam allowance (if any) really depends on how much of a finished seam you want left at the end!


I hope this was helpful, please let me know if you have any questions in the comments...

xx
Jen

Tutorial - Making and Inserting Inseam Piping

Friday, July 26, 2013

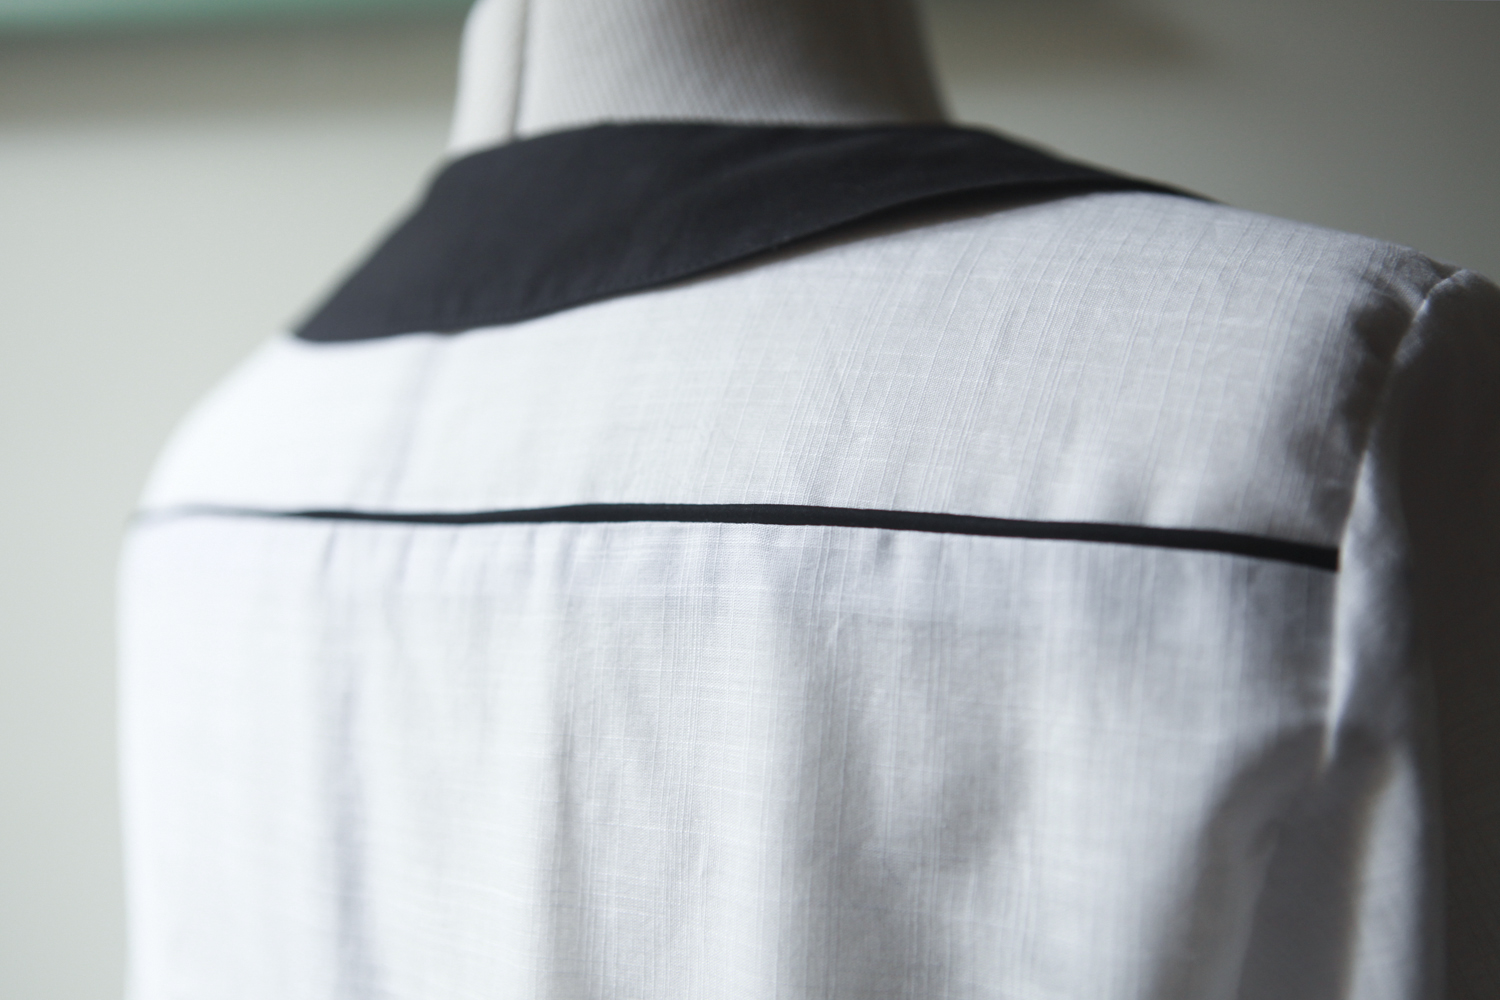
I used a contrasting black piping on the back of my Airelle Blouse and decided to document the process so that you can see how easy it is to make and insert inseam piping yourself.

Piping can add a sweet little detail to your garments. You can either choose to make it from a contrasting fabric or from the same fabric for a more subtle effect. Insert piping into yolk seams in shirts, waist seams in skirts and even along neck lines in dresses or other tops.

Supplies:


Steps:

1. Cut a strip of bias binding from the fabric you wish to turn into your piping. You will want your strip of fabric to be at least 2 inches wide (and as long as you need for your project plus a little extra).


2. Fold your bias binding in half, wrong sides together and lightly press (you only want a light crease, don't iron in a heavy line otherwise your piping won't be nice and round).

Use your ironed crease to line up your cord inside your bias binding.


3. Push your cord against the ironed line as close as possible and then pin in place.


4. Using your zipper foot, sew as closely as you can to your piping. Don't catch or sew over your piping though.


5. Trim the raw edge of your piping down to match your garments seam allowance, measuring from the stitching line you just sewed. For my garment, a 5/8" seam allowance is provided, so, on my piping, from the raw edge up to the line I sewed above is 5/8".


6. Sandwich your piping between your seams, right sides together, lining up your raw edges. Using your zipper foot again to guide you closely to your piping, sew along your seam matching up your seam allowance accordingly. 

Because you trimmed your piping raw edge down to match your seam allowance, you shouldn't catch your piping, but go slowly, there is no need to rush.


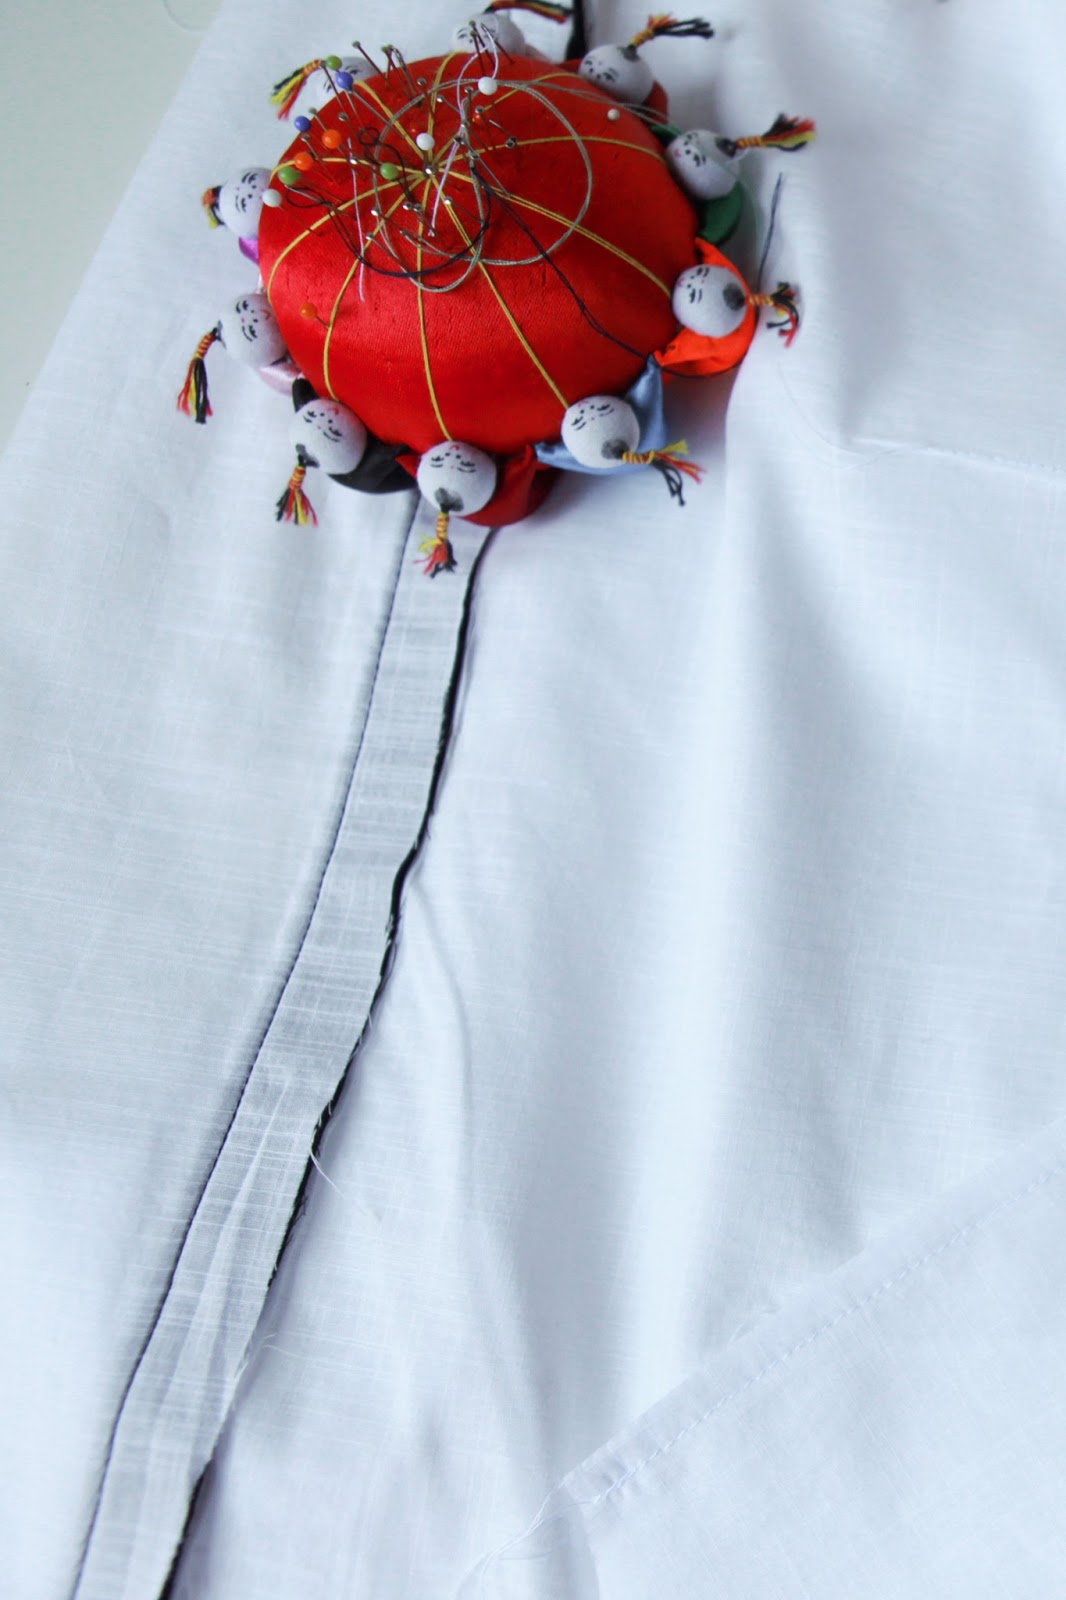
7. Turn your garment right side out, gently iron your seam allowance down and marvel at your lovely piping detail.


xx
Jen
Shop Patterns     .     Instagram     .     Twitter     .     Pinterest

Auto Post Signature

Auto Post  Signature