Image Slider

Showing posts with label Colette Patterns. Show all posts

The Easiest Peplum Top - A Tutorial

Tuesday, February 11, 2014


This little peplum top is so easy to make. I made mine with the free Colette Patterns Sorbetto top, but I think this would look equally cute with any top that is relatively blouse-y and non-fitted. You could also easily update a mens shirt using this method as well!

Supplies:

  • A Non-fitted Blouse Pattern
  • 1/2inch (13mm) Bias Binding (Learn to make your own here)
  • 1/4inch (7mm) Elastic or Ribbon
  • Measuring Tape
  • Scissors


Steps:

1. Trace out your blouse from the pattern and make any necessary changes. At this stage, you should add length if you want it, and if you are wanting a bigger peplum, grade your pattern out a size or two at the waist and hips.

2. Make up your pattern according to the instructions.

3. Find and mark where your waist is on the blouse. Turn it inside out and with your blouse flat, measure along the marked waist line all the way around. This is the waist circumference measurement of the blouse.


Tip: To get your accurate waist placement, put your blouse on and then put a skinny belt or loop of elastic on over the top. The belt/elastic will sit naturally where your waist is smallest, mark this placement using a pin or fabric marker.

4. Measure out a length of bias binding using the blouse's waist circumference measurement and add on  two inches for the bias binding seam allowance.

5. Fold under the bias binding seam allowance, 1 inch each end, wrong sides together and iron.


6. With your blouse still inside out, line up one edge of your bias binding with a side seam of your blouse. Pin your bias binding, wrong-side down, along your marked blouse waist circumference.


7. Sew your bias binding down on each side as close to the edge as you can get starting at one end of the bias binding. Do this on both edges.


8. Cut out a length of elastic that is comfortable for you. A general rule is to take your waist measurement and minus 3 inches to get a comfortable amount of elastic for your blouse. However, this is dependent on how stretchy your elastic is. Another way you could measure your elastic is to put it around your waist and stretch it until you are happy with the fit. Add an extra 2 inches to this measurement for seam allowance.

9. Attach a small safety pin to one end of your elastic and pull through the bias binding casing from the side opening. It should fit nice and snuggly into the bias casing, but make sure there are no twists in your elastic as you go.


10. Before you secure your elastic ends permanently, safety pin the elastic together and try the blouse on to make sure you are happy with the amount of elastic you are using. Make any adjustments to the elastic length at this stage and then secure the elastic ends either using a hand or machine stitch.

Et voila! You have now made a super cute (and easy) little peplum blouse!


As I was making this, I realised how cute the contrast bias binding would look if placed on the right side of the blouse as well, so I took some photos to show you. I've used a piece of white ribbon here to demonstrate how you could use a cord or ribbon and tie them at the side of your blouse if you chose to put your binding on the outside of your blouse. (And, yes, this is the blouse inside out! Love french seams for making it look otherwise!).


Do let me know if you make your own Easy Peplum Blouse. I'd love to see them and hear how they worked out!

xx
Jen
Shop Patterns     .     Instagram     .     Twitter     .     Pinterest

Building & Wearing a Hand-Made Wardrobe - Back to Basics

Friday, February 7, 2014


I'm so glad so many of you enjoyed my first post in this series of Building & Wearing a 
Hand-made Wardrobe!

Today I wanted to talk about going back to basics in our hand-made wardrobes, to talk about those items that we can make in a few hours that can form a base for several hand-made outfits.

Basics are pretty amazing things when you actually think about them. They take very little of our precious sewing time to make up, but open up a whole host of different hand-made outfits that can then be worn because of them.


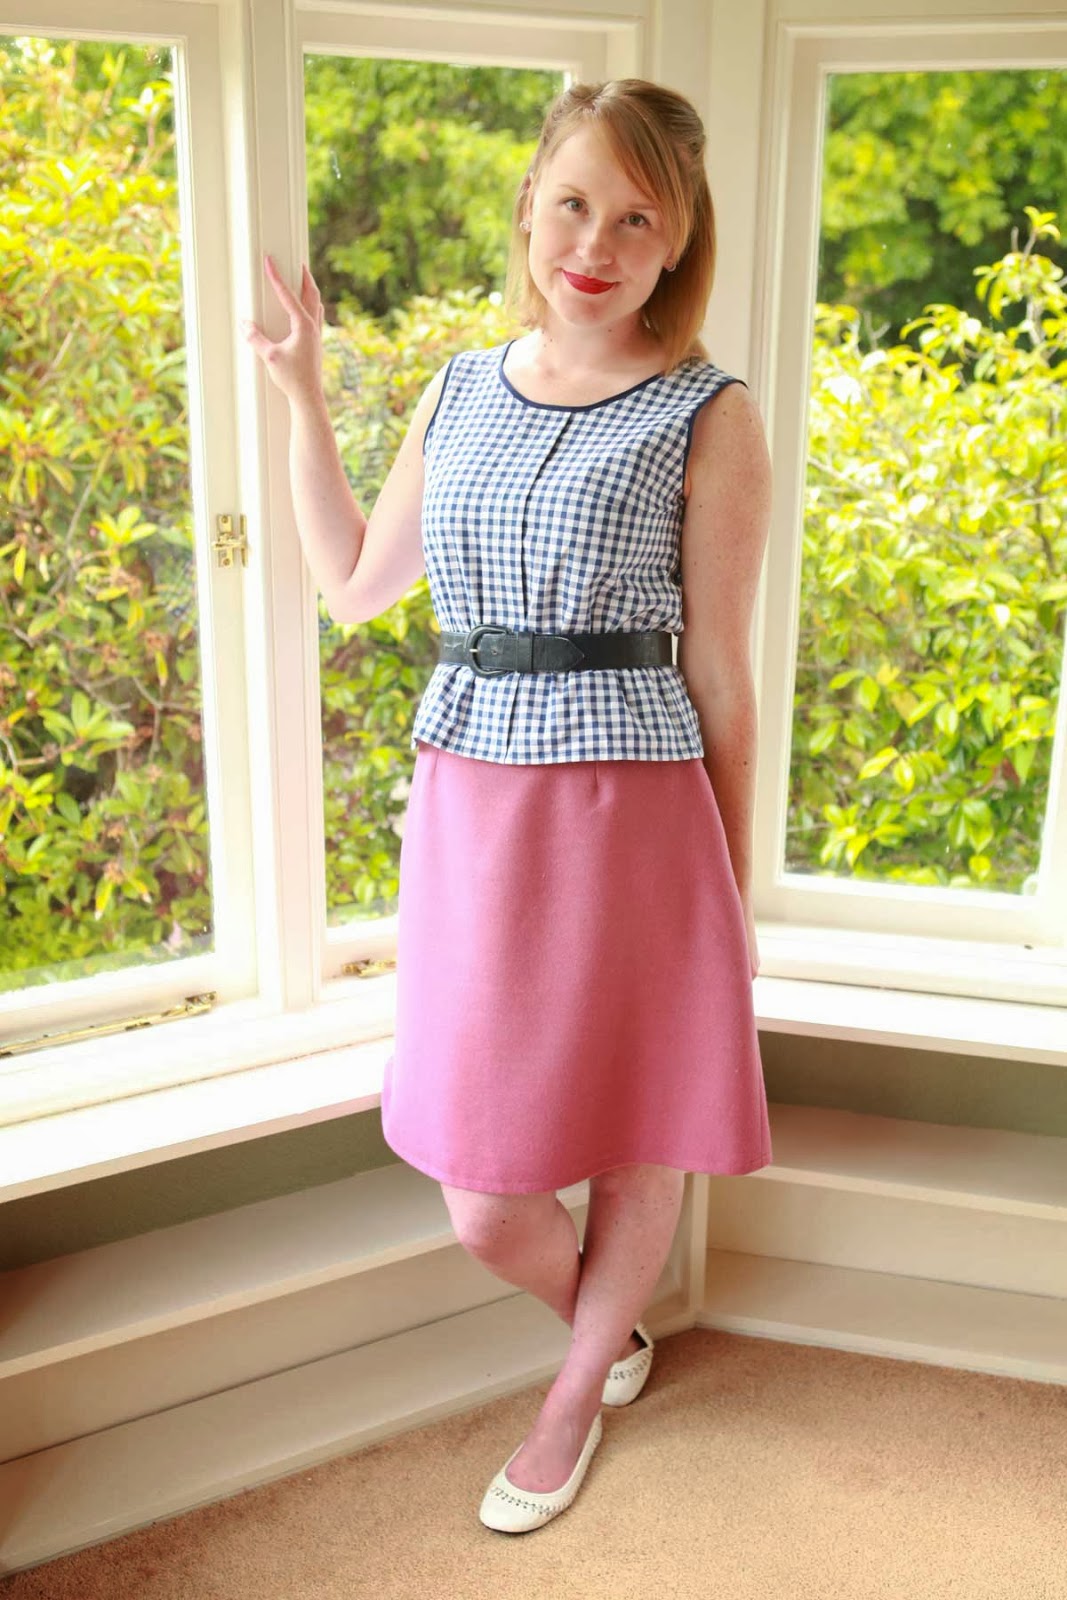
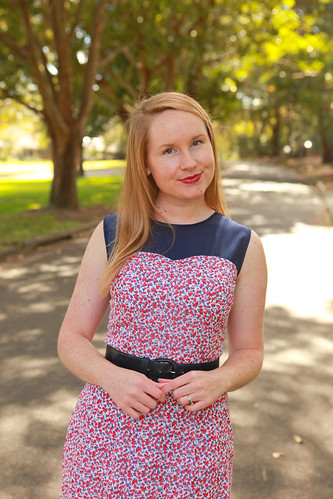
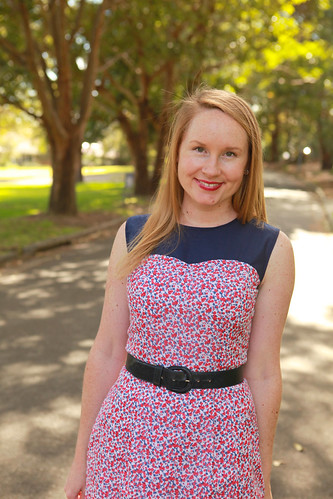
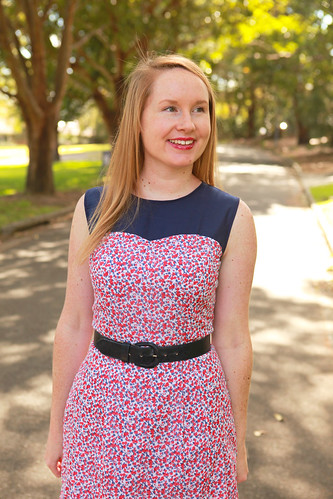
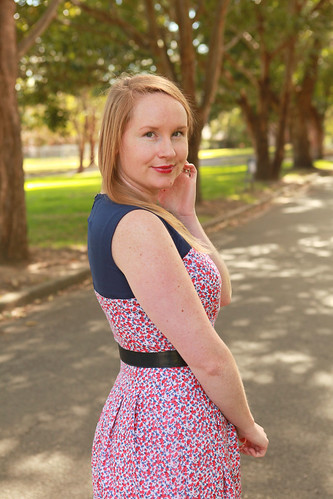
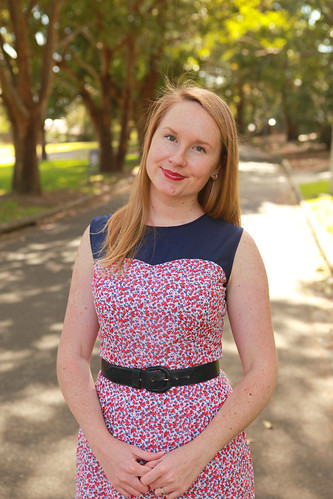
Today I'm wearing a Colette Patterns Sorbetto (free to download!) that I've turned into a little peplum blouse. There are so many free basic patterns out there that are easy to sew up, to adapt and that can provide the means to wear some of the more outrageous items in our hand-made wardrobes that may otherwise never get worn because nothing else goes with them. 

As I discussed in my first post in this series, sewing basics doesn't have to be boring or mean doing the same techniques over and over. Basics provide the amazing opportunity of interpretation, customisation and personalisation of a garment. They also provide the perfect platform to try more complicated construction techniques and to test out different design ideas, while also letting you try out new styles without too much heartbreak if they just don't work out.


This little Sorbetto took me about 3 hours to make all up (if that), has french seams and the obvious addition of the peplum. I can wear the peplum out as I've done here or tucked in (and I've found that tucking in the peplum means I have a perfect distribution of 'pouff' out of the top of my skirt, which means I'm not forever adjusting my blouse). This little blouse also goes with so many things in my hand-made wardrobe and is the perfect summer staple being made up in a navy gingham cotton which is both affordable and easy to wash and wear.

Throughout the year I'm going to be showing you a few different things you can do to jazz up basics, including how to make your very own Peplum Sorbetto coming next week (it is so easy)!

So, if you're one of those people who loves sewing bright, complicated garments that never get worn, then maybe try sewing up a basic to go with it! You never know, it might get worn a whole lot more and become a staple go-to outfit.

xx
Jen

One Pattern Seven Bloggers - The Big Reveal

Monday, September 2, 2013
We've come to the end of the second One Pattern Seven Bloggers challenge and it's now time to reveal our finished Macarons.

Macaron10

Macaron13

Macaron19

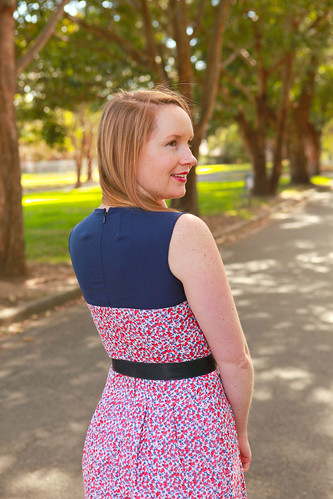
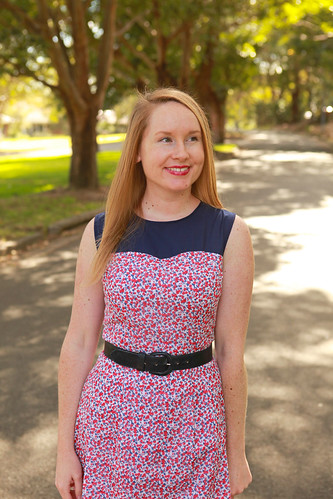
First off, can we talk about the pockets? In-pleat pockets are officially my favourite kind of pocket! My mind is blown as to why I have never used them before, as it is, I'm quite sure I see a few Macaron skirts in my future. As some of the other challenge participants noted, the skirt is much more of a tulip shape than the pattern pictures make out and to be honest, that's why I love it. The soft pleats are very flattering across your tummy when you've had a big lunch and they hide the deep pockets so well, you could keep all number of curiosities in them and no one would know.

Macaron12

Macaron9

Macaron8

For this version, I moved the side zip to the centre back - something I tend to do for almost everything if I can get away with it. I'm one of these people who does their hair before they get dressed and prefer to step into a dress as opposed to pull it on over my head. I also inserted it using my preferred zip insertion method, the lapped zipper.

I underlined the yolk/sleeve fabric with a plain white cotton to stop it being as see through and replaced the neck facing with white bias binding that I hand stitched to the underlining.

Macaron27

Macaron28

Macaron25

Macaron18

I also chose to omit the bodice waist band as I tend to wear belts with almost everything. Though before I had even thought of doing that, I had to quite drastically lengthen the main bodice piece (even if I was going to keep the waist band!). I'm now officially confused as to whether I'm long waisted, short waisted or just average waisted as with almost every pattern I've made, I have to make one of the above mentioned alterations to my waist length. Any one care to fill me in on how I decide whether I'm short, long or average in the waist-length department?

Macaron6

Macaron14

Macaron22

Overall, I found this pattern lovely to work with. The combination of fabrics you could choose for the dress are endless as well as the number of different changes you could make (Kat made a peplum top from hers!!). The instructions are easy to follow and the dress doesn't use a lot of fabric. In fact, I loved making this pattern so much that I hopped straight back to it and made a second Macaron for the Sew Weekly Reunion Challenge right after I was done with this first version.

But, let's not forget that amazing giveaway we promised when we first announced the Challenge. The prizes have been drawn but firstly, a huge Thank You to our fabulous sponsors who donated the amazing prizes to us.


And the winners are...

Lill - 1 x Macaron Pattern thanks to Colette Patterns
Josephine - 1 x Macaron Pattern thanks to Guthrie & Ghani
MaciNic - 1 x Macaron Pattern thanks to Stitch 56
Elizabeth - 1 x Pattern of your choice thanks to Sew Squirrel
Kathleen S - 1 x Colette Pattern of your choice thanks to Indie Stitches
Joanne - 1 x Colette Pattern of your choice thanks to The Haby Goddess
Amy - 1 x $20 gift voucher thanks to Fabric Worm
Sew Charleston - 1 x $30 gift voucher thanks to A Fashionable Stitch

All winners will be receiving an email from one of us shortly!!

Make sure you head on over to visit everyone else involved in the challenge, they've made some amazing creations. While I've gone the more casual route, there are some stunning evening versions in there which really does show how versatile this pattern can be -

Marie from A Stitching Odyssey
Reana Louise from Reana Louise
Rachel from My Messings
Sam from Buckingham Road

Macaron17

Macaron7

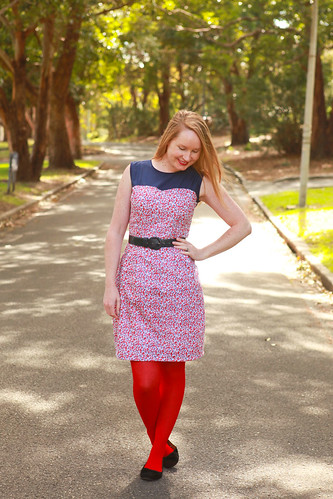
As I was editing these photos, it occurred to me that this looks a little like a modern version of Dorothy's dress from The Wizard of Oz and that I really should have worn red shoes for this photo shoot. Oh well, now I know what I'm going as to my next costume party, I just need to borrow a Toto from someone (can a black cat play Toto? We picked them up today, hooray!!)...

xx
Jen

The Sew Weekly Reunion - Faux Liberty Macaron

Wednesday, August 28, 2013
Faux Liberty Macaron11

Faux Liberty Macaron1

Faux Liberty  Macaron10

*This is not my One Pattern, Seven Bloggers Macaron. It's the second Macaron I made after I finished my first one because I loved the pattern so much!!

The Facts:
Fabric - Floral Cotton Lawn, Blue Poplin, White cotton Underlining
Notions - Invisible Zipper, Thread
Pantone Challenge Colours - Mykonos Blue and Samba
Pattern - Colette Patterns Macaron


Year - 2009 0r 2010 I think (?)
Time to complete - Over the course of 2 days
First Worn - 27th August 2013
Wear again? Of course!
Total Cost - $30

I loved reading The Sew Weekly. In fact, it is (was) probably one of my favourite sewing blogs. I started reading it when it was just Mena writing and talking about her weekly sewing adventures, and then she opened up the weekly sewing challenge to 4 other lovely sewing ladies and it got even better!

Sadly, The Sew Weekly ladies stopped posting as their lives, schedules and commitments changed, and my weekly burst of sewing inspiration was no longer.  Until...

They came back, baby! And they invited anyone and everyone along for the ride.

Faux Liberty Macaron5

Faux Liberty Macaron3

Faux Liberty Macaron9

I couldn't not sign up to be a part of the challenge, but the truth was, I didn't actually know if I would be able to participate. With our move looming ever closer, I was running out of time to finish the projects I had already committed too, without adding another onto my plate.

So, when they posted the challenge details on the 1st August, I was a little worried about what they would actually entail. You can imagine my relief when it was a pantone challenge, and 2 of the colours almost perfectly matched the fabric I had already picked out for my second version of the Macaron!

I do plan to write more about working with this pattern in detail in my OP7B reveal on Monday. But briefly, I moved the zip to the centre back and proceeded to insert the worst invisible zipper of my life. Really. It took me about 4 attempts to get it right. I'm usually a lapped zipper kind of girl, but this zip was in my stash and I was determined to use it.

Faux Liberty Macaron8

Faux Liberty Macaron7

Faux Liberty Macaron6

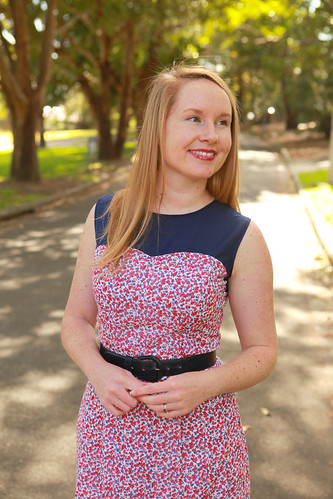
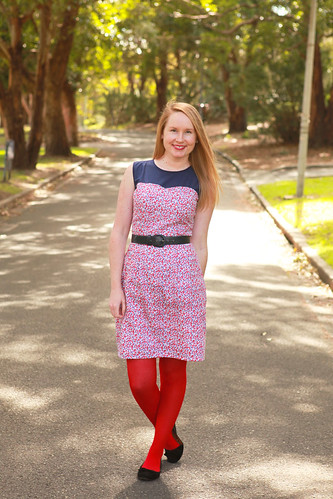
I removed the sleeves and finished the neck and arm holes with bias binding (I have a handy dandy tutorial on how to do this here). I also ended up having to completely underline the floral fabric. I bought this online (my first time buying fabric online) and it claimed to be cotton lawn, but really, it's far too loose a weave to be lawn. It almost looks like muslin (or cheese cloth for those who call it that!). But, while we're talking about this floral, doesn't it look a little like a Liberty print? Well, I think so, so I've dubbed this dress the Faux Liberty Macaron :)

Overall, I love this pattern and am kicking myself for not making it sooner. Make sure you check back in on Monday for more Macaron-gushing and my first version of this dress!

Faux Liberty Macaron4

Faux Liberty Macaron-2

Faux Liberty Macaron14 

Did any of you participate in the Sew Weekly Reunion challenge? I'm really hoping to hear more from these ladies in the future, I missed them :)

xx
Jen

PS) I'm really sorry that I've had to post this Macaron out of order from the OP7B dress. The Sew Weekly dress just needed to be up by the 1st September, where as my first dress needed to be up on the 2nd September and I thought two Macarons in subsequent days might be too much. So, I'm sorry about the small timing issue here, that'll teach me to participate in simultaneous challenges :) As an apology, David made me a jumping GIF with an 'in-air' shimmy. This was the one he wanted posted, so, here you go...


Doesn't my hair look awesome when I'm up in the air?

One Pattern, Seven Bloggers - Inspiration

Monday, August 26, 2013

Wowzers guys, thanks so much for all of the support for this challenge! It would seem you are possibly even more excited about it than we are!! So today I thought I'd share my Macaron fabric combination with you.

I didn't go into this challenge with this specific combination in mind. In fact, I really had no idea what I was going to make my Macaron with. I normally have some idea when doing these kinds of challenges, but for some reason, this time I just had no idea (even though this has been on my 'To Make' list ever since it came out!)

As it happened, I literally stood in the fabric store staring at their range for about an hour, um-ing and ah-ing, looking a bit dazed and confused, picking up bolts, putting them back and just generally having no idea what I was actually going to buy.

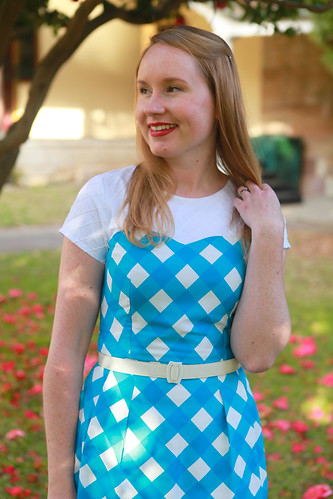
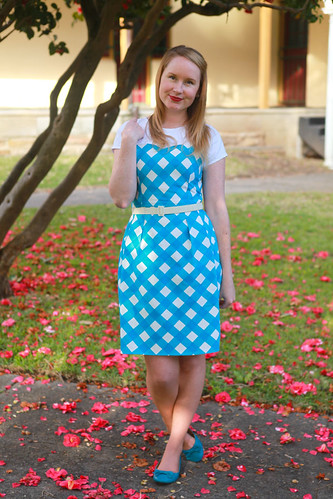
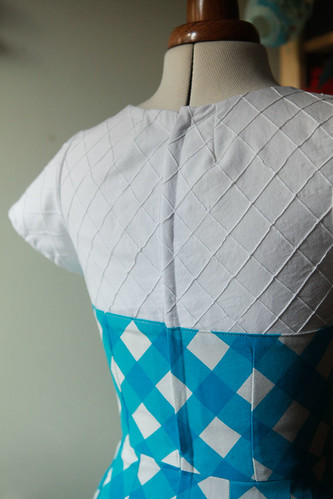
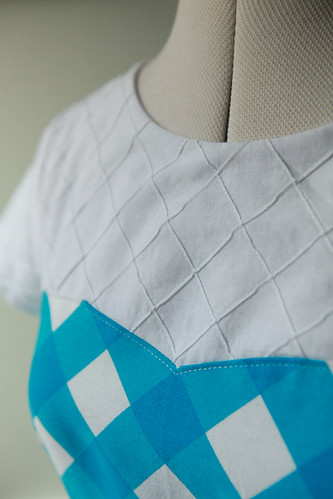
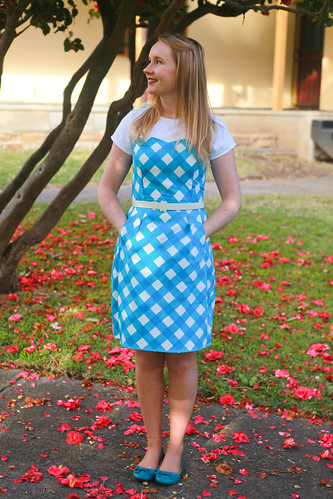
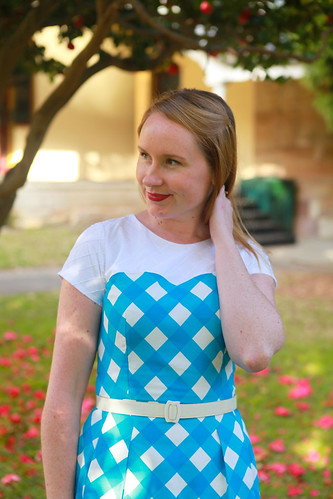
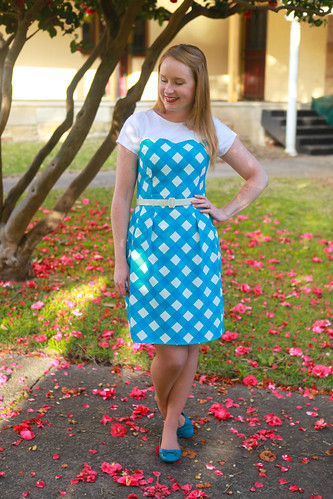
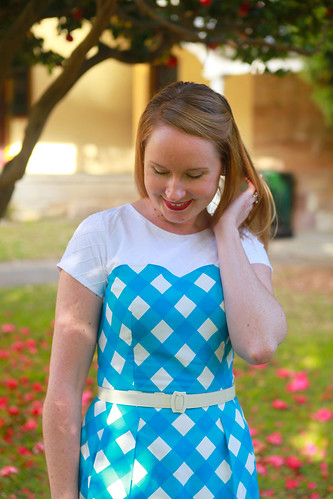
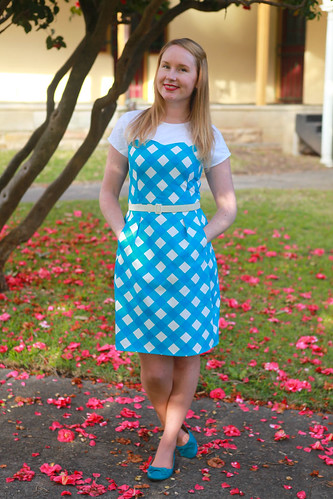
I found the blue and white large gingham cotton drill first, luckily there was just enough fabric left on the bolt to squeeze the main sections of the dress out. Once I had made up my mind about the main body, it was quite obvious I'd need to go with a white for the contrasting yolk and sleeves. But I didn't want to go with just any white. It needed to be a little bit interesting. So I found this lovely pin tucked white cotton that I thought quite nicely and subtly mirrored the gingham drill.

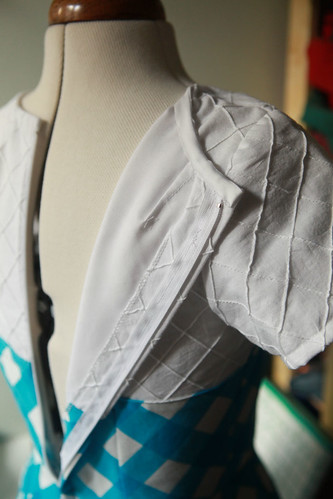
I ended up underlining the yolk and sleeves with another thin white cotton from my stash so that it wouldn't be too see through, but over all, I'm really happy with my chosen fabrics.

When I started cutting out my pattern though, I realised the white yolk cotton squares weren't really very 'square' or evenly distributed and I also seemed to have conveniently forgotten how annoying working with plaids can be. But I am really proud of my finished dress and managed to get most of the pattern matching up.

Do you ever get overwhelmed in fabric stores and just stand there staring? I hope I'm not the only one :)

And remember, there is still time to enter the amazing giveaway over here if you haven't already!

XX
Jen

One Pattern Seven Bloggers - The Sequel

Monday, August 19, 2013

Two years ago, myself and six other lovely bloggers took part in a challenge to make one dress from the same pattern. The aim was to infuse the pattern with our own tastes and styles to eventually come up with a dress completely different to everyone else's, while still having the same base. And, well, we're doing it again! We couldn't believe it had been 2 years since we had done the original and thought it was high time to revisit the challenge again. Two years older and hopefully, two years wiser.

So, a reminder of who we are...

Reana Louise from Reana Louise
Rachel from My Messings
Sam from Buckingham Road

This time, the challenge will happen over three blog posts, next week we will be talking about the inspiration for our dresses and any other tidbits we feel like sharing and then the following week we will be doing the big reveal.

Last time, I finished my challenge dress just before heading off to Vancouver for three weeks and this time around, I'm moving back home to New Zealand (!!). In fact, the movers have been and gone today with my sewing machine (and just about everything else we own...). I won't see it until late November now because there is also an epic Italian/UK adventure thingy happening in there as well. But never fear, I actually finished this dress and took photos of it a few weeks ago, because this little bunch of bloggers is so super organised that we planned this back in May!

We have chosen the Colette Patterns Macaron Dress as our base - an oldie but a goodie. This pattern has been on my 'To Make' list ever since it came out (a long time ago) and this challenge finally pushed me to get it done. And guess what? After I made my first dress, I hopped straight back to it and made a second dress. This pattern is pretty awesome, I'm wondering what on earth took me so long to make it!

Now for your chance to win!!

To celebrate the One Pattern Seven Bloggers project, we are hosting a huge giveaway thanks to 8 fabulous sponsors!


The Prizes
1 x Macaron Pattern thanks to Colette Patterns
1 x Macaron Pattern thanks to Guthrie & Ghani
1 x Macaron Pattern thanks to Stitch 56
1 x Pattern of your choice thanks to Sew Squirrel
1 x Colette Pattern of your choice thanks to Indie Stitches
1 x Colette Pattern of your choice thanks to The Haby Goddess
1 x $20 gift voucher thanks to Fabric Worm
1 x $30 gift voucher thanks to A Fashionable Stitch

To enter, all you need to do is comment on this post before Saturday 31st August with your email address! Make sure you head on over to all of the other participants blogs for up to 7 chances to win!

Terms & Conditions
  • Prizes will be randomly allocated to each of the 8 winners across all seven blogs.
  • One entry per blog.
  • You can comment on each of the 7 blogs for 7 chances to win (!).
  • The winners will be drawn and contacted by email on the 2nd September 2013.

I am so honoured to be included with this amazing bunch of sewing ladies. I've seen some sneak peaks of their dresses and they are rather fabulous!

xx
Jen
Auto Post Signature

Auto Post  Signature