

If you're new to sewing or dress-making, seeing a PDF pattern can either be the boost you need to get going because it's so instant, or it can be intimidating, because, how the heck does that all work anyway?
As I've just released my first pattern, The Afternoon Blouse, which is currently only available as a PDF pattern, I've written a quick tutorial on putting it together, so you can see just how easy it can be.
Now, the way I've laid out my pattern is a little different to your conventional PDF pattern. Why? Well, I've made it easier!
Instead of having to print out every-single-piece and join them all together in one big lump, I've broken them up for you. You can choose to print out each pattern piece individually, which means if you are only wanting to make one version, you can select the page numbers of the pieces you need, and print out those pieces only. This makes putting your pattern together faster (because you aren't taping a huge sheet together and therefore don't need to rearrange your entire living room to make enough floor space) and it also minimises paper wastage, because you aren't printing out unnecessary pattern pieces. So really, it's a win-win in my book.
Before we get to the printing and assembling bit of The Afternoon Blouse pattern, first you should decide what option you are wanting to make (and you're totally allowed to make both. In fact, it's encouraged!). You'll need to choose the following page ranges depending on the version you are making -
Version 1
Pages 3-5 (Facing Pieces) & 6-23 (Front and Back pieces)
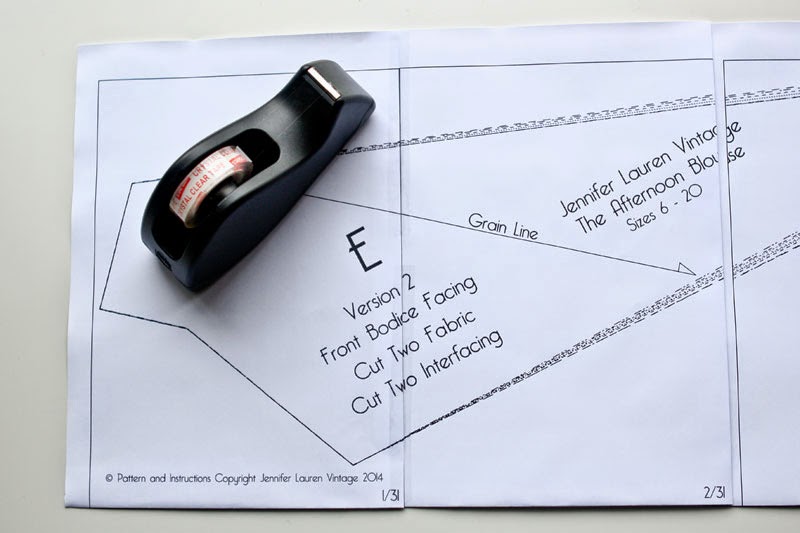
Version 2
Pages 1-3 (Facing Pieces) & 6-14 (Back piece) & 24-31 (Front piece)
Supplies:
Afternoon Blouse PDF Pattern
A4 or Letter printer paper
Adobe PDF Reader Software (free to download here) or other PDF Reader
Tape or Glue
Ruler
Scissors (optional!!)
Steps:
1. Once you've downloaded and saved your Afternoon Blouse pattern and instruction sheet to your computer, open your PDF Pattern and select 'Print'
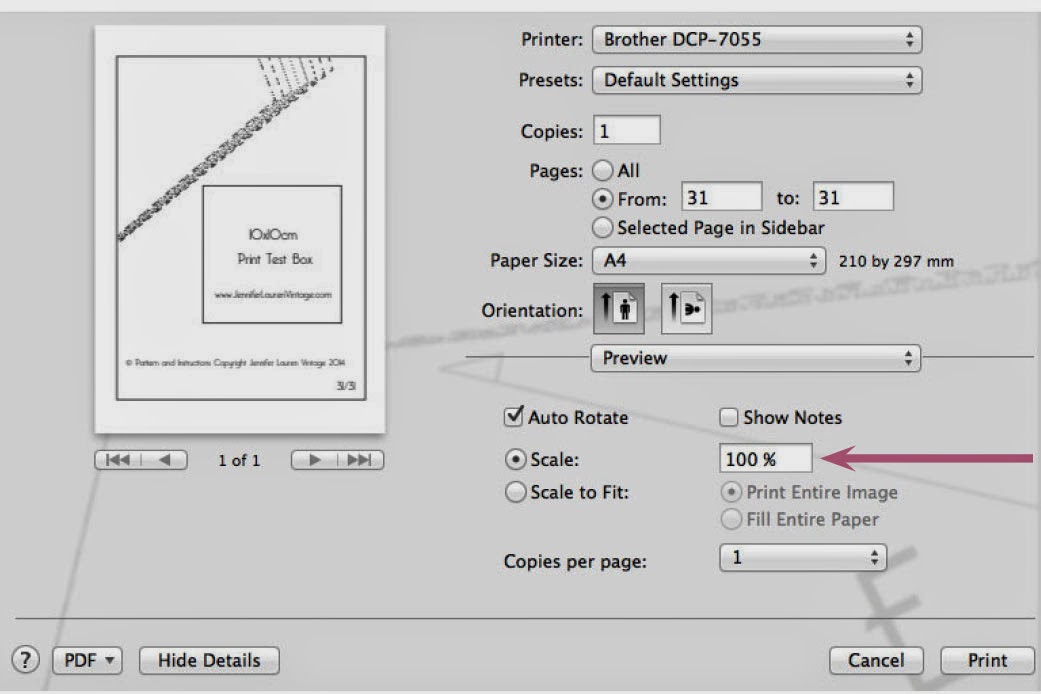
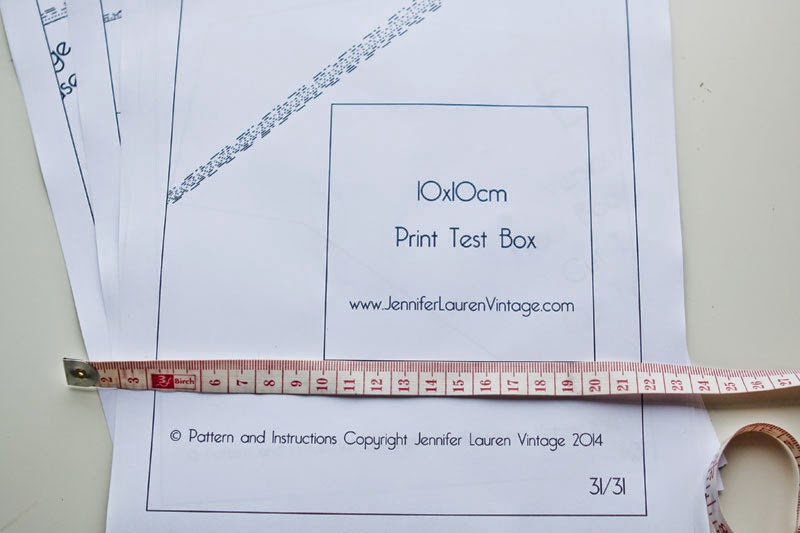
2. In your print options, select 'Actual Size' or 'Scale 100%' depending on which setting you have (I have the Scale 100% setting in my print options) and print page 31. This page has a handy Print Test Box that you can use to ensure you are printing to the right scale. Take your ruler and measure the sides of the box, they should measure 10cm x 10cm.
3. Once your print test box is measuring the correct size, you can go ahead and print out your pattern. You can choose to print just one version by selecting the page ranges you require (listed above).
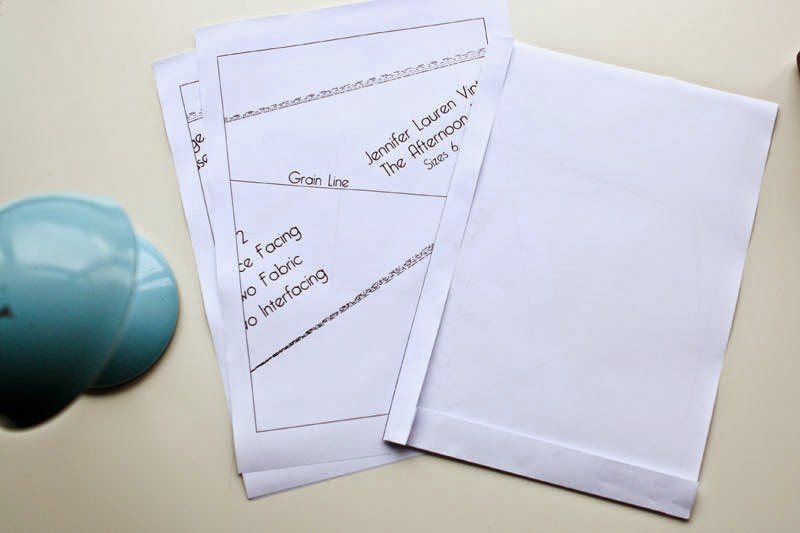
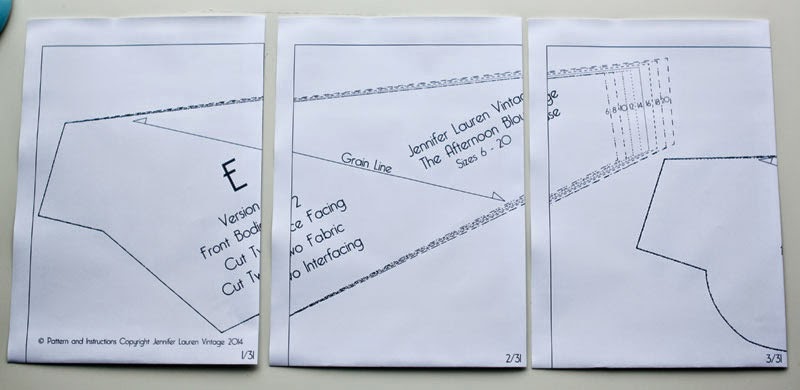
4. Once your pattern is printed, you'll notice that there are page numbers at the bottom of each printed page. To ensure your pattern piece is up the right way, these need to be in the bottom right hand corner.
5. At this stage, you can either choose to fold your borders back, or cut them. Fold or cut the bottom side and the right side of each pattern piece in order to make it easy to lay them on top of each other to join them together.

6. On page 3 of your instructions, you'll find a Lay Plan of how you should lay each piece of paper together. Follow this guide and lay out your pieces of printed pattern.
7. Join each pattern piece together, making sure to line up borders and pattern lines from each piece to the next and tape or glue in place.
8. And, erm, that's it! Now you're ready to trace your pattern and spend the afternoon sewing.
xx
J


Post Comment
Post a Comment
Thank you so much for stopping by to leave me a comment, like most people, I really do appreciate them all!
Due to the large amount of spam I receive here, unfortunately I have had to turn comments off. If you'd like to get in touch with me, please send me an email :)
Note: Only a member of this blog may post a comment.