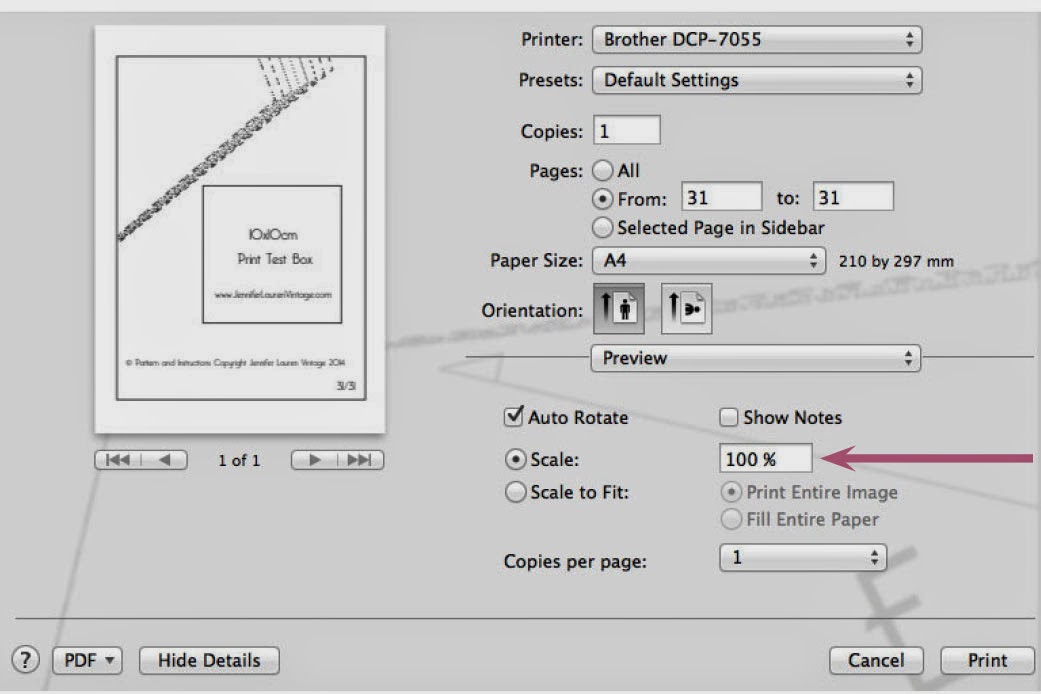
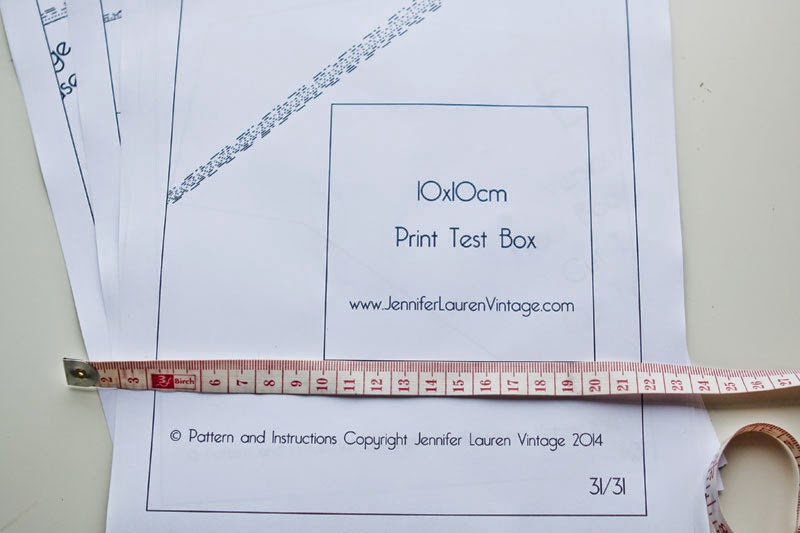
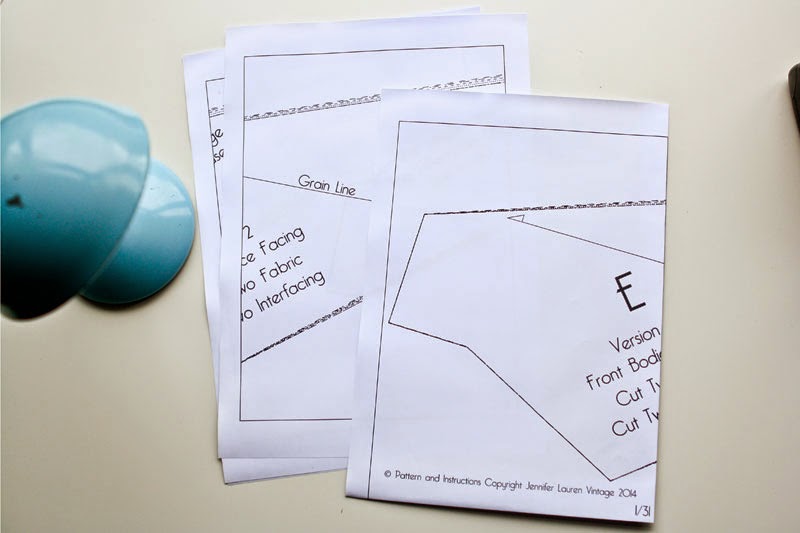
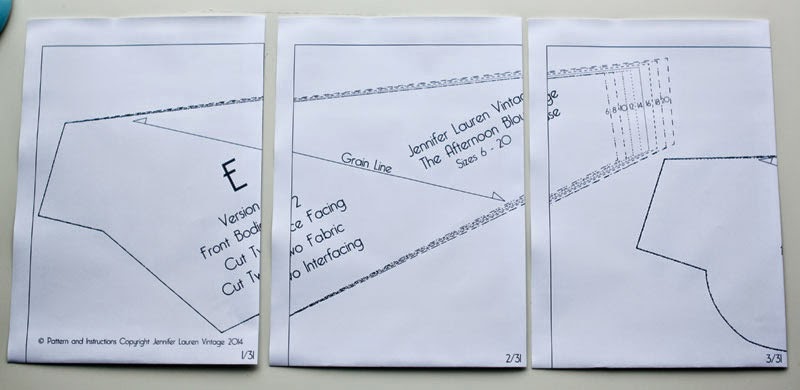
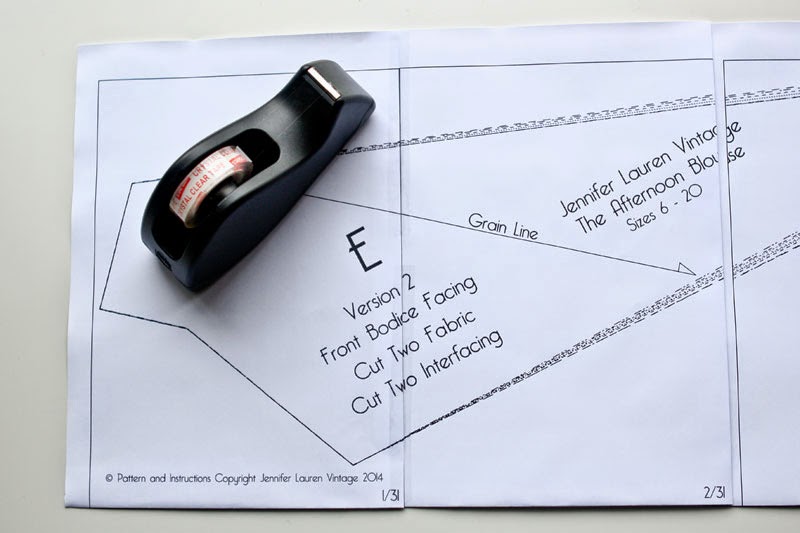
If you've bought one of my pdf patterns, you probably would have noticed that I don't put those little diamonds up the sides of the borders that most pdf patterns have. They are sometimes put there to help you match your pages together as you're assembling your paper pattern.
Some patterns have diamonds or squares, some have circles in the corners, what ever they use, I don't have anything like that.
 I've had people ask me or comment about this in the past, never in a bad way, just in more of a surprised way, because out of habit and experience they expect them to be there. My question though is always are they actually useful?
The reason I don't use these extra pattern markers is because I don't believe they need to be there for my patterns - I don't think they are useful or make assembling my pdf patterns easier or faster. In fact, I think they would add an unnecessary layer of complexity to pdf's (which people already find a little draining on the soul to print out and piece together in the first place) that just complicates the whole process.
In my book, you need two main things to accurately assemble a pdf pattern - borders and the pattern lines themselves (as well as some way to ensure your pattern pieces are up the right way. I also provide a visual and numbered layout of each pattern piece in the instructions which shows you how to lay everything out).
The borders around each page ensure that you are cutting out the pattern to the correct size. Then, matching them together (along the side, top and bottom) ensures that you are taping your pages together exactly parallel, as opposed to slightly skewed - which would then result in a slightly off pattern piece.

The pattern markings themselves then become your next check point in making sure your pattern is going together accurately. Once the borders have been lined up, the pattern markings should flow between the borders from one page to the next, joining up at all sizes or forming pattern piece information etc as you tape.
 And that's it. I don't think you need to add an extra step to the process by also trying to line up diamonds. And to be fair, if you're accurately lining up your borders and pattern lines (which are the most important), then your diamonds (or circles!) would line up anyway. The only reason your pattern wouldn't be lining up is if you hadn't printed it to the correct scale, or the pattern wasn't exported into a pdf format accurately before you even got your hands on it.
So, that's my argument for not using them. I'm not against extra pattern markings, I just don't think they are necessarily relevant all the time, and what's the point of putting something extra on there if there is no relevance? That's just wasting good printer ink :)
I think it's good to question why things are done they way they are - sometimes it's for a very good reason, but other times, not so much.
So, I'm really curious to hear your thoughts on pdf pattern diamonds - do you pay attention to them? Do they actually help you to assemble patterns? Have I got it totally wrong?
xx
J
- - - - - - - - - - - - - - - - - - - - - - - - - - - - - - - - - - - - - - - - - - - - - - - - - - - - - - - - - - - - - - -
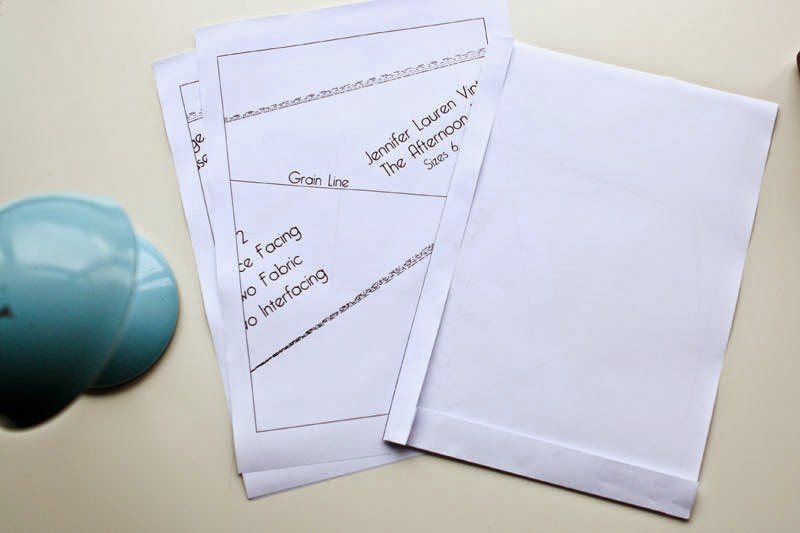
Edit: I just thought I'd point you over to my tutorial on putting my PDF Patterns together to give you a bit of background into why I don't use these diamonds on my patterns - start reading from step 4. There is No Reason why you should trim all 4 sides of each piece of paper when taping up your pattern. It's much easier (and faster!) if you cut one side, and leave the corresponding side of the page next to it untrimmed. This way, it's easy to line up AND easy to tape together, since one page sits on top of the other. I also provide a visual and numbered print-layout for each of my patterns (divided into pattern pieces or different views), to ensure it's simple to put together, which is why, for me, adding diamonds seems like a bit of an unnecessary step.
Another Edit! There has been some discussion, both here and on Instagram about pdf pattern border thickness. I totally agree this plays a big role! The thinner the border the better - for reference, my borders are thin, they are the same size as the pattern outlines themselves.
So, assuming all pdf patterns have thin borders (though I've not used every pdf pattern out there, so I have no idea personally) then I suppose I'm still not sure how having those diamonds on there helps to line things up accurately, because, just like the pattern markings, you can never be sure whether they sit to the inside of the border, the middle or the outside.
And, if the borders are the same thickness as the pattern lines themselves, then how do you know where to cut the actual pattern itself? This goes for paper AND digital! I personally aim to cut down the middle of the line, but when they are so thin, it doesn't really matter a huge amount as there will always be some margin of error.
That margin of error will increase yet again when you actually cut out your pattern in your fabric.
So, I guess there's no easy solution for this other than for pattern producers to ensure they have thin borders on pdf patterns and for the person doing the sewing to make an executive decision on where to aim the scissors when cutting :)
Some patterns have diamonds or squares, some have circles in the corners, what ever they use, I don't have anything like that.
The reason I don't use these extra pattern markers is because I don't believe they need to be there for my patterns - I don't think they are useful or make assembling my pdf patterns easier or faster. In fact, I think they would add an unnecessary layer of complexity to pdf's (which people already find a little draining on the soul to print out and piece together in the first place) that just complicates the whole process.
In my book, you need two main things to accurately assemble a pdf pattern - borders and the pattern lines themselves (as well as some way to ensure your pattern pieces are up the right way. I also provide a visual and numbered layout of each pattern piece in the instructions which shows you how to lay everything out).
The borders around each page ensure that you are cutting out the pattern to the correct size. Then, matching them together (along the side, top and bottom) ensures that you are taping your pages together exactly parallel, as opposed to slightly skewed - which would then result in a slightly off pattern piece.
The pattern markings themselves then become your next check point in making sure your pattern is going together accurately. Once the borders have been lined up, the pattern markings should flow between the borders from one page to the next, joining up at all sizes or forming pattern piece information etc as you tape.
So, that's my argument for not using them. I'm not against extra pattern markings, I just don't think they are necessarily relevant all the time, and what's the point of putting something extra on there if there is no relevance? That's just wasting good printer ink :)
I think it's good to question why things are done they way they are - sometimes it's for a very good reason, but other times, not so much.
So, I'm really curious to hear your thoughts on pdf pattern diamonds - do you pay attention to them? Do they actually help you to assemble patterns? Have I got it totally wrong?
xx
J
- - - - - - - - - - - - - - - - - - - - - - - - - - - - - - - - - - - - - - - - - - - - - - - - - - - - - - - - - - - - - - -
Edit: I just thought I'd point you over to my tutorial on putting my PDF Patterns together to give you a bit of background into why I don't use these diamonds on my patterns - start reading from step 4. There is No Reason why you should trim all 4 sides of each piece of paper when taping up your pattern. It's much easier (and faster!) if you cut one side, and leave the corresponding side of the page next to it untrimmed. This way, it's easy to line up AND easy to tape together, since one page sits on top of the other. I also provide a visual and numbered print-layout for each of my patterns (divided into pattern pieces or different views), to ensure it's simple to put together, which is why, for me, adding diamonds seems like a bit of an unnecessary step.
Another Edit! There has been some discussion, both here and on Instagram about pdf pattern border thickness. I totally agree this plays a big role! The thinner the border the better - for reference, my borders are thin, they are the same size as the pattern outlines themselves.
So, assuming all pdf patterns have thin borders (though I've not used every pdf pattern out there, so I have no idea personally) then I suppose I'm still not sure how having those diamonds on there helps to line things up accurately, because, just like the pattern markings, you can never be sure whether they sit to the inside of the border, the middle or the outside.
And, if the borders are the same thickness as the pattern lines themselves, then how do you know where to cut the actual pattern itself? This goes for paper AND digital! I personally aim to cut down the middle of the line, but when they are so thin, it doesn't really matter a huge amount as there will always be some margin of error.
That margin of error will increase yet again when you actually cut out your pattern in your fabric.
So, I guess there's no easy solution for this other than for pattern producers to ensure they have thin borders on pdf patterns and for the person doing the sewing to make an executive decision on where to aim the scissors when cutting :)