Image Slider

Showing posts with label A Vintage Affair. Show all posts

The Darling Buds of Mae...

Friday, August 9, 2013
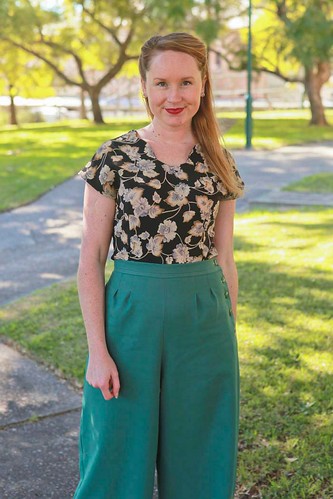
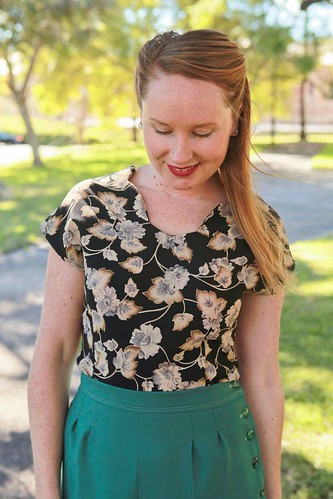
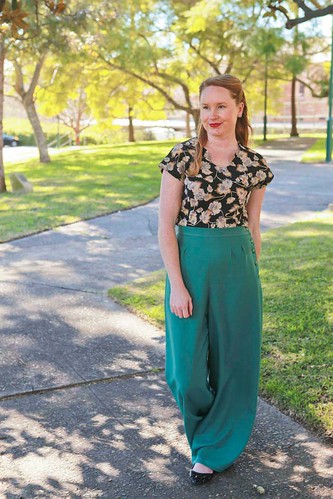
I was lucky enough to be asked to test another Blue Ginger Doll pattern a few months back and now that it's been released, I can finally show you my version of Abbey's newest pattern, the Mae Blouse.
Mae8

Mae11

Mae1


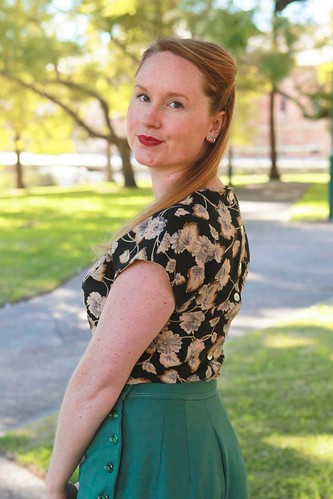
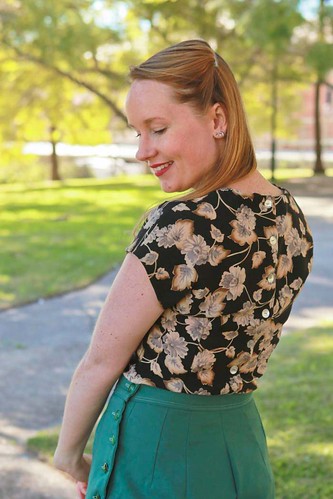
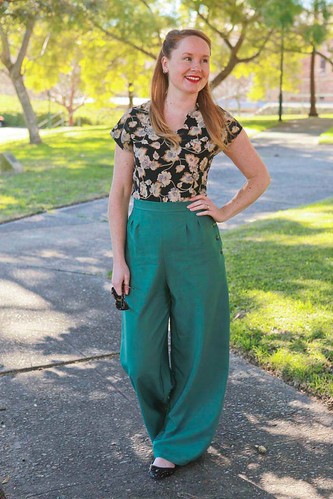
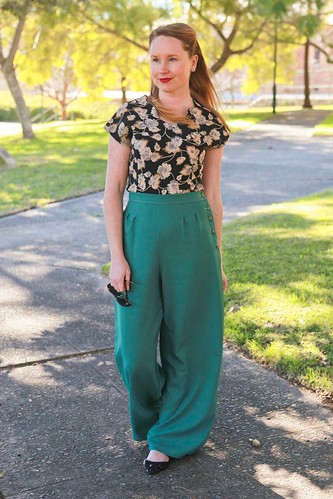
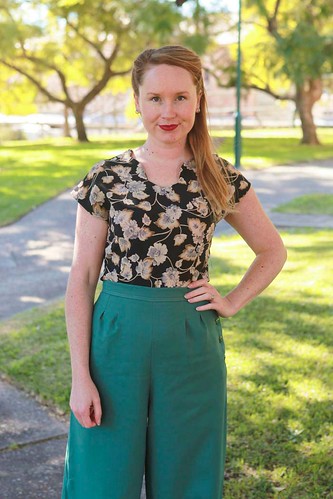
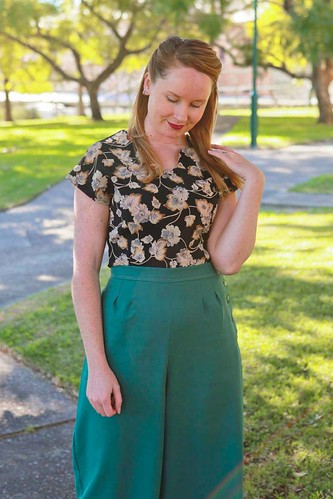
It's a beautiful 1940s inspired blouse with a scalloped neckline (who doesn't love a good scallop, of the edible and patterned variety!), a button up back and a lovely fitted silhouette.

I made my Mae using a vintage mystery fabric that I'm pretty sure is a silk georgette with some beautiful vintage shell buttons. I actually had this combination saved for another 40s button up blouse that I hadn't quite gotten around to making yet, but as soon as I saw Mae, I knew they would be the perfect match for each other.

Mae16

Mae6

Mae3

Abbey recommends using a stiffer fabric for the blouse to support the scallops, but so that I could use my lovely fabric, I used interfacing on both the blouse scallop and the scallop facing to give it the structure it needed, and it seems to work really well.

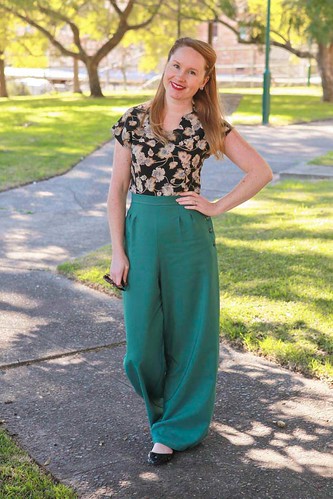
I'm wearing my Mae tucked into my 1940s Swing Pants, but Abbey has designed the pattern so that you can make it longer and wear it over the top of a pencil skirt (very 40s!) or with jeans for a more modern look.

Mae4

Mae7

Mae12

Mae9

This pattern is such a quick and satisfying make - I made mine in less than a day all up. It's also the perfect pattern for a beginner looking to start adding new techniques to their repertoire like button holes and scalloped edges.

Right now Abbey has 10% off the Mae Blouse pattern using the code LOVELYMAE2013 and she has free world wide shipping! So there are no excuses not to add this beautiful pattern to your stash. And while you're at it, you may as well get the Billie Jean dress pattern too, I wear mine all the time!

xx
Jen

1930's Fashion Predictions...

Saturday, June 29, 2013
David sent me a link to this video a long long time ago - 1930's futuristic fashion predictions AKA what they thought we'd be wearing in 2000.

It's a hair-raisingly brilliant video. Some real eye candy for you lovely cuties...


Oooh, swish!!

xx
Jen

She's a Lady...

Friday, June 7, 2013
A sneaky peek of my latest creation. Photos coming next week!

For my birthday/christmas present my parents gave me a Lady Valet adjustable dress form. I really needed to replace my first dress form (a flaming red Singer) after the part that holds the torso to the hips broke. I tried several times to get in touch with them to find out if I could buy a new part, but to no avail.

Anyway, the Lady... she's lovely. All vintage-y looking and pretty. She was easy to put together, easy to adjust to my measurements and displays my garments so well.


She also looks pretty sitting in my little sewing corner in our living room...

xx
Jen

Patterns and Spots

Wednesday, May 15, 2013
So, something quite exciting happened a few weeks ago. I was asked to be a pattern tester for a new indie pattern company that Abby was starting called Blue Ginger Doll. I was quite chuffed to be asked really. I've never done any pattern testing before (except for my own adventures in pattern drafting) and so I jumped at the opportunity to be involved.

I received a lovely big package in the post a few weeks later that turned out to be the pattern for Abby's first dress, the Billie Jean.

14May 2013 2

14May 2013 1


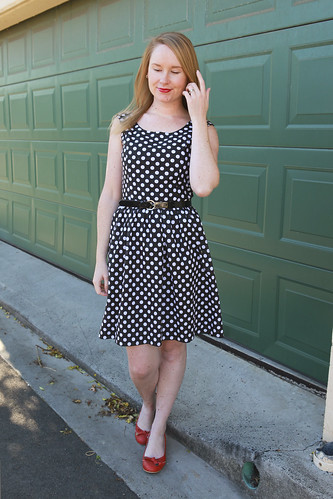
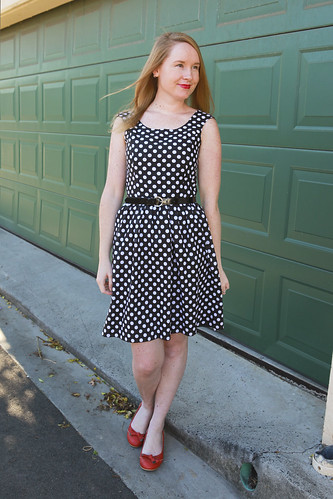
It's a truly lovely pattern to work with. I didn't really need to make any alterations besides the ones I normally have to make to most patterns.

I did end up pinching a bit of excess out of the neckline though, probably about 3cm all up. The dress straps are designed to sit off the shoulder but I wanted to be able to wear the dress as an 'every day' dress and so needed to be able to wear a bra without the straps showing.

This is really very easy to do - simply cut out the front pattern piece in a muslin, place it on yourself or your dress form and pin the shoulder straps where you would like them to sit. Pinch out the excess on the neckline evenly on both sides, iron the excess down so that you have a flat pattern piece and redraw. Do the same for the back pattern piece so that the shoulder straps line up. You will need to slightly true up your pattern piece around the neckline after that, but it's really very minimal.

14May 2013 4

14May 2013 3

14May 2013 5

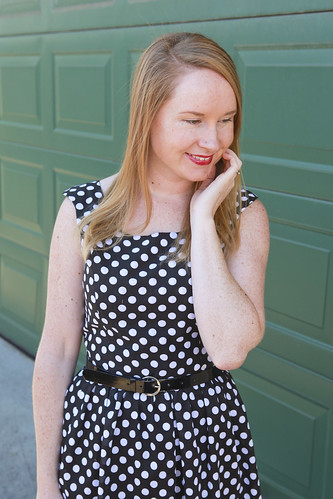
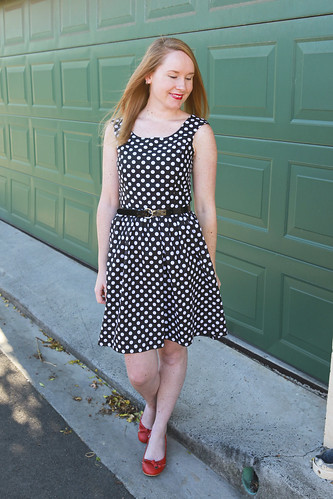
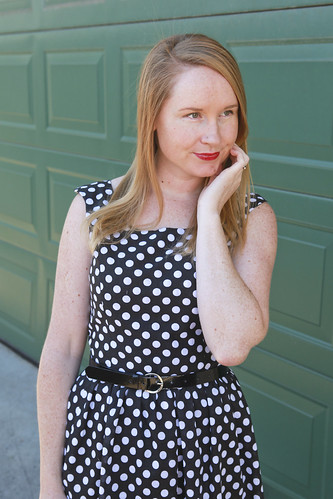
I made version 2 of the dress but made the skirt less full. My version is made from a light cotton black and white polka dot fabric and is lined in the same fabric.

The Billie Jean dress is Abby's first pattern and is available for pre-sale at the moment in both downloadable pdf and paper variations. Check out her website for other variations of the dress, you'll see that it's really a great pattern for mixing and matching different fabrics and styles.

xx
Jen

An Old Hat Box...

Saturday, March 9, 2013
HatA4

Well, I certainly didn't mean to let the whole month of February pass by without a post. And who can believe we are a quarter of the way through March already?

These past few weeks have seen almost zilch in the sewing department completed. I've half heartedly tried to finish a few of my WIPs (I totally ironed a half finished skirt last weekend!) but I haven't really been all that enthused about any of them. It also doesn't help that I've started lusting after a few newly invented projects that I really really need to start otherwise-the-world-will-probably-end!!!

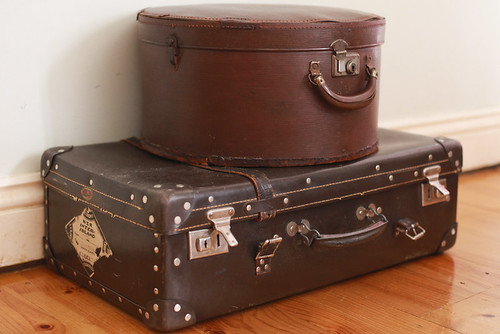
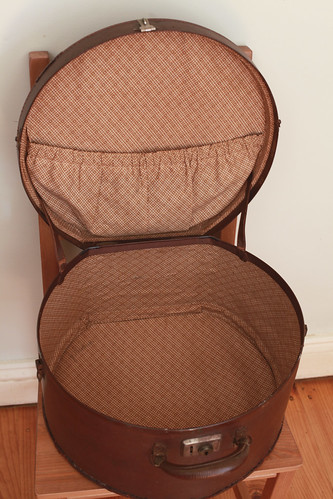
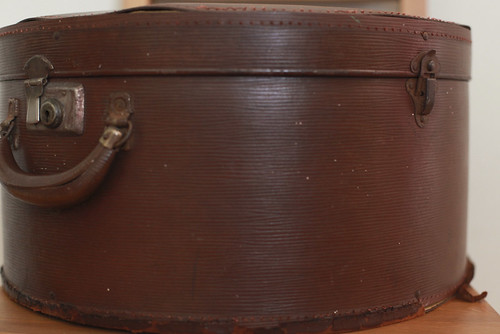
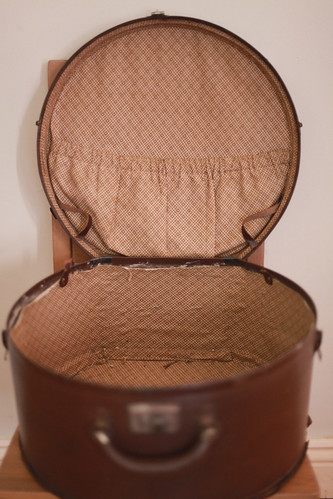
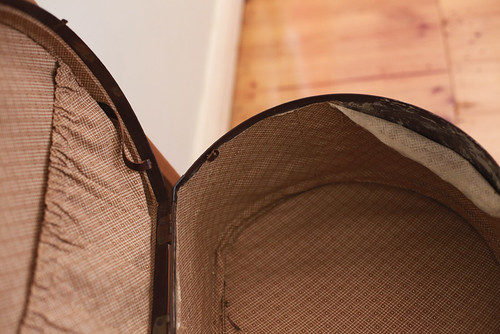
So, moving on to other projects that do not involve any sewing, but are no less satisfying and that I've actually finished! I bought this poor little old hat box at a market at the beginning of my Christmas holidays last year. The outside was a little battered, the bottom was kind of falling off, the leather binding was almost non-existant and what was there was cracking and broken. But the inside was in quite incredible condition for its age, no staining or rips. And it matched my other brown suitcase. And I was sure they would look the perfect pair sitting together in my bedroom.

HatA1
After

HatA2
After 

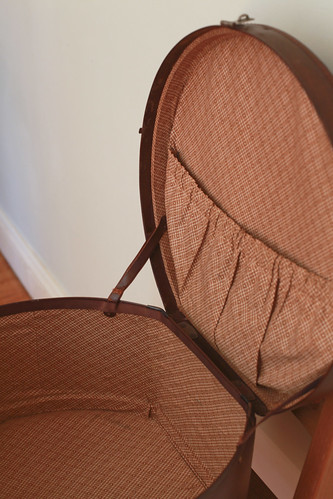
The inside wasn't absolutely perfect, it needed a small amount of work, but not much. I glued the falling down fabric back to the side, trimmed the frayed edges and then lined the inside edge with new chocolate brown grosgrain ribbon. I also lined the back of the snapped leather straps with the ribbon so that they joined together again and the top would stay up when opened.

HatB5
Before

HatB1

Before

HatB2
Before 

On the outside, I carefully glued the bottom back to the sides and left it for a few days to dry with a brick on top to weigh it down. I then glued what was left of the leather binding back down on both the bottom and the lid. I was thinking about trying to find some more leather to redo the binding, but I think it looks perfectly pretty in it's own tumble down way so I think I'll leave it.

This pretty little case now has enough strength to stay together and house a few of my cardigans until autumn comes calling (which won't be long now, considering it officially began on the 1st of March!).

XX
Jen

Mad at the Plaid...

Sunday, January 13, 2013
I made it through my first week back at work barely, but I made it! It's also been incredibly hot this week, we've been faced with 41 degree heat in Sydney (that's 105.8 farenheit) and there have been major fires across Australia, especially inland where it's been even hotter. It's much cooler today which is a relief (the cats are also much happier) and David comes back from the USA tomorrow (he has been at conferences and academic-y things for the past 10 days) so hopefully the coming week will be a little more bearable.

Enough complaining, let's talk about the dress!

13 Jan 2013 6


13 Jan 2013 3

I worked on this dress in stops and starts for a few weeks towards the end of last year. We were quite busy during those weekends celebrating things like 30th Birthdays and 2nd Wedding Anniversaries.

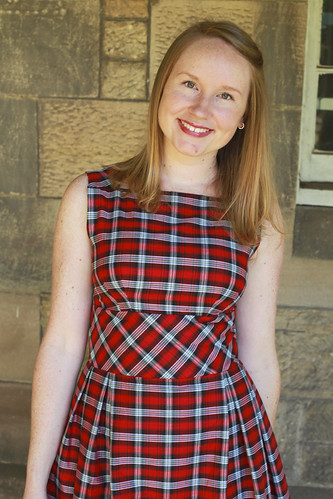
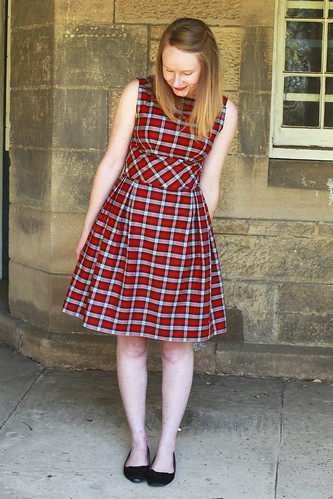
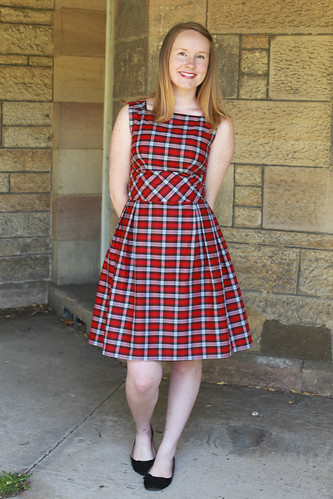
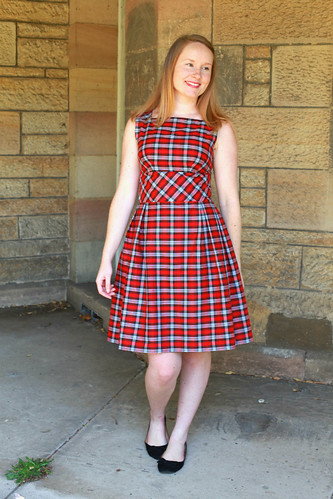
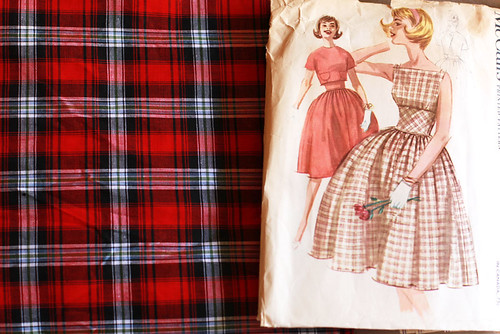
I love plaid/tartan but completely understand why I don't often sew with it - it makes me mad. Getting everthing to match and line up is time consuming and, let's be honest, a real pain in the bum! It also doesn't help when the plaid I'm using is rectangular as opposed to square, but that's what you get when using fabric from your stash that you thrifted years ago for about $4. You can't have it all.


13 Jan 2013 2

Untitled

13 Jan 2013 5
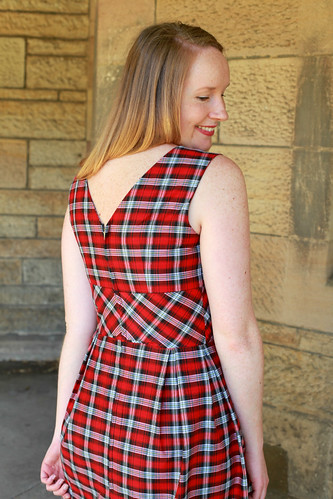
Wow! I got the back to line up!!

13 Jan 2013 7

13 Jan 2013 4

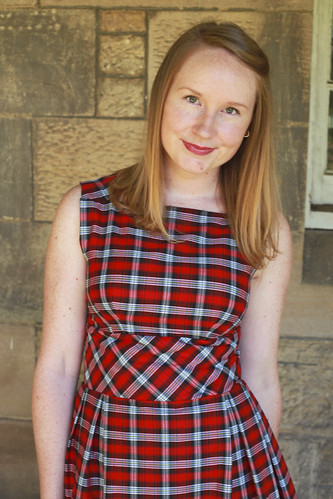
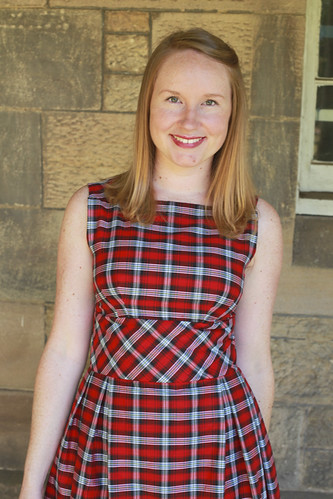
I have to admit though, that despite the time consuming nature of the fabric, I am quite chuffed with how it turned out. Especially where the shoulder straps line up with the bodice. I think it's also a lovely detail the way the plaid in the straps is angled before coming into a nice matching line down the bodice front.

I'm not as pleased with the bias waist band though and really should have tried harder to make sure I started with the point of a rectangle in the centre top as opposed to the middle of one. I didn't really have enough fabric to recut the waist band but the print itself, luckily, is busy enough to compensate for that. You live and learn. 

Overall I really liked the pattern. I was worried about the bodice fabric bulging out the side of my arm pit because there are no side bust darts in this dress, but it sits really nicely. The bodice is fully lined with the same plaid fabric and the waist band is underlined with a plain white cotton (which I highly recommend if you are cutting this on the bias - it gives the fabric more stability.)

Overall I really love this dress. I wish I could have made the skirt a bit fuller but there just wasn't enough fabric, I added as many pleats in the skirt as I could!

I think it's going to be a great transitional piece as we head into autumn this year, and it works well as a summer dress that's more work appropriate. I can now tick number 3 off my sewing list!

Pattern 10

Do you use plaids in your sewing often? I'd love to hear any tips you have for making it less 'a pain in the bum' if you have them!

XX
Jen

The Sewing Year in Review...

Sunday, January 6, 2013
Thanks so much for all of your comments on the new blog look!

I've spent the past few days working on Etsy shop items and watching (and finishing in 2 days...) season three of Downton Abbey. I'm pretty sure the shop will be up and running at the end of January and I can't wait to get back to it again. It will feature embroidery and 40s inspired design and that's all I'll say :)

I'm dreading heading back to work tomorrow, I've made so much progress on three new sewing projects (including 2 from my list) during the past 2 weeks. It will be sad to break my sewing routine and struggle to find the time to do it again (as always). So in light of the sewing projects ahead in 2013, I thought it would be fun to do a 2012 Sewing in Review. I sewed much more towards the end of the year after coming back from Europe feeling refreshed and ready to tackle my sewing machine again (and perhaps use some of the pile of fabric I bought back from Paris).

The last two items I haven't yet managed to get up on the blog yet, but I'll be posting them soon!

January:

19th Jan 2012 3


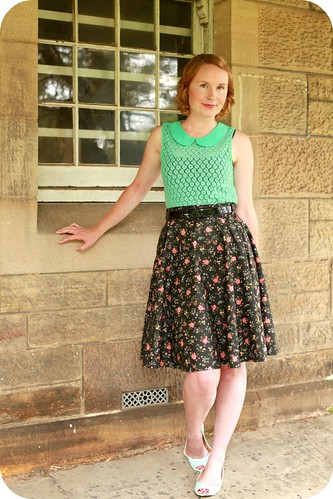
Black floral circle skirt made from vintage cotton.

February:

26th Feb 2012 7


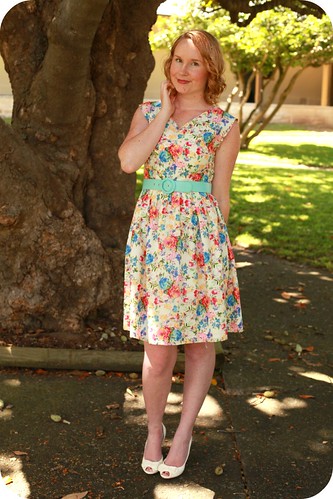
Floral v neck dress with added pleats.

May:

20th May 2012 2


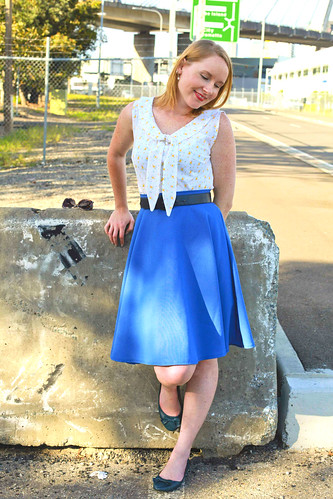
Colette Patterns Jasmine Blouse and blue circle skirt.

June:

19th June 2012 2


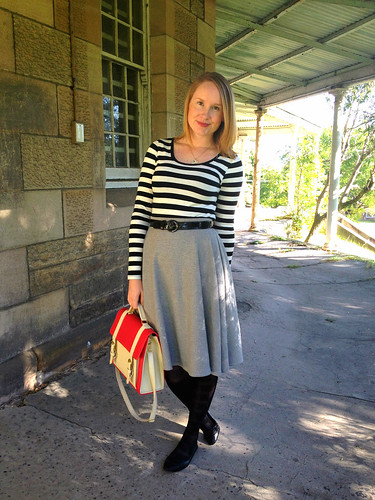
Grey circle skirt.

September:

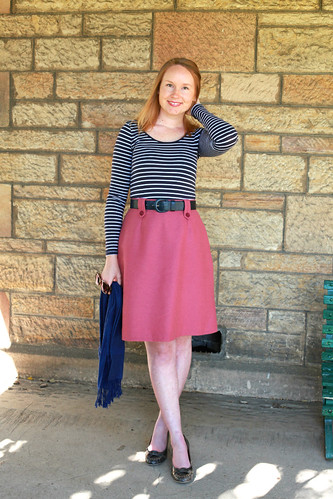
3


Blush pink wool 60s a line skirt with added belt tabs and buttons.

October:

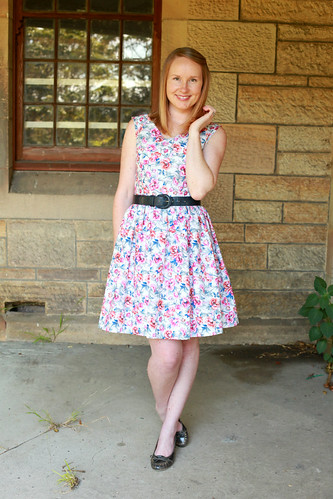
23 Oct 2012 5


Floral v neck dress with added waist band - number 5 on my sewing list.

November:

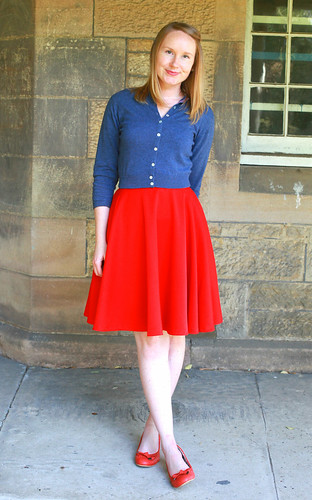
16 Nov 2012 1


Red circle skirt.

December:


Plaid 50's dress with added pleat detail - number 3 on my sewing list. Blog post coming.


50s floral blouse - number 2 on my sewing list. Blog post coming.


So that was my sewing year in review, not too bad in my opinion (though not as good as some of you!!).  It was certainly the year of the circle skirt for me and I've just begun making a black one (I can't believe I've gone this long without a black circle skirt...).

The one really great thing I can take away from my sewing last year is that almost all of these items have become things I wear regularly. It's always nice to know that I wear the things I make!

xx
Jen
Auto Post Signature

Auto Post  Signature