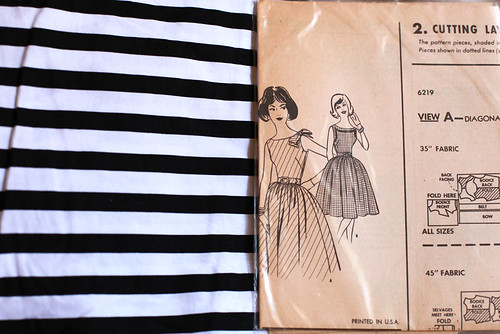
I'm pretty sure most of the internet knows about the Emery Dress by now, right? It's Christine Hayne's latest pattern release and it's such a lovely design that really lets you get creative with finishing touches and construction techniques.
Oh, and you know it has pockets right? I think pockets will forever be the thing that seals the deal with seamstresses all over the world.


I did my usual grading at the bodice, from a 6 to an 8 and found that although it (would) fit perfectly, the shaping darts were about half an inch too low. Nobody else has seemed to have this problem with the pattern however and it's an easy fix. I must have had a moment when tracing the pattern and accidentally used the wrong sized darts. Duh!


I constructed my bodice a bit differently than Christine instructs as I was using a standard vintage zip and not an invisible one. I also made my bow belt instead of using the attached bow pattern because I thought the dress would be a little more versatile sans bow.
The lining I used was left over floral fabric from my Faux Liberty Macaron. And I also kinda wish I had made floral inseam piping for the neckline after seeing it peeping out once it was sewn in. But in all honesty, I couldn't really be bothered unpicking it, so instead settled for ironing up the lining a smidge so you can just see it.
Hey, it works!


Over all, I really love my Emery - the colour, the full skirt with pockets and that lovely neckline. I think a sleeveless version is in order, no?


Now, let's get to the fun part and do a give away shall we?
To enter to win, all you need to do is pop on over to the Indie Stitches Facebook page and like it. Then come back here, let me know you've entered in the comments and you're done.
If you already like Indie Stitches on Facebook, don't worry, you can still enter too! Just share the page with your friends on Facebook and leave me a comment letting me know you've done it.
The competition is open internationally for two weeks (entries close on Monday 3rd March) and the winner will be notified via email by Friday 7th March.
Indie Stitches also posts worldwide, so if you can't wait to win a copy of the Emery dress pattern, you can buy it here.
Oh, and you know it has pockets right? I think pockets will forever be the thing that seals the deal with seamstresses all over the world.
A few weeks ago I had a lovely email in my inbox from Caitlan who runs Indie Stitches. She was letting me know that she had just started stocking Christine's patterns and wanted to know if I'd like to help her celebrate by running a giveaway of the Emery Dress pattern on my blog for you guys. Well, of course I said yes (because I'm not silly you know!), so make sure you read on for your chance to win!
My Emery is made from a denim blue cotton plaid, perfect for the cooler seasons ahead - although on the day we took these photos, it was a bit less summery than I would have liked!
I did my usual grading at the bodice, from a 6 to an 8 and found that although it (would) fit perfectly, the shaping darts were about half an inch too low. Nobody else has seemed to have this problem with the pattern however and it's an easy fix. I must have had a moment when tracing the pattern and accidentally used the wrong sized darts. Duh!
Monty photobomb!
The lining I used was left over floral fabric from my Faux Liberty Macaron. And I also kinda wish I had made floral inseam piping for the neckline after seeing it peeping out once it was sewn in. But in all honesty, I couldn't really be bothered unpicking it, so instead settled for ironing up the lining a smidge so you can just see it.
Hey, it works!
Now, let's get to the fun part and do a give away shall we?
To enter to win, all you need to do is pop on over to the Indie Stitches Facebook page and like it. Then come back here, let me know you've entered in the comments and you're done.
If you already like Indie Stitches on Facebook, don't worry, you can still enter too! Just share the page with your friends on Facebook and leave me a comment letting me know you've done it.
The competition is open internationally for two weeks (entries close on Monday 3rd March) and the winner will be notified via email by Friday 7th March.
Indie Stitches also posts worldwide, so if you can't wait to win a copy of the Emery dress pattern, you can buy it here.
So, let's help Caitlan celebrate stocking Christine's patterns!! It's par-tay time guys!
xx
Jen