


This is probably just about the easiest adjustment you could make to your Gable Top (besides doing nothing at all, of course). Bracelet or 3/4 length sleeves will give you an even more elegant look for work and evening wear, plus, if you're a vintage gal, they'll also fit rather nicely into your wardrobe. They also work well for transitioning into different seasons - long enough to keep you warm, short enough to keep you cool.
Bracelet length sleeves are slightly longer than 3/4 sleeves - they tend to sit just above the wrist, whereas 3/4 sleeves will sit about half-way up your forearm (like they do on me in the pictures above). You could also opt to make your 3/4 sleeve shorter, by having it stop just after your elbow.
These are subtle variations, but you'd be surprised at how different they can make your finished garment look, so make sure you pop on a long sleeved Gable and play with the different lengths by rolling your sleeves up to different heights. That'll give you a good idea of how much sleeve you might want to remove. Once you've decided, make a note of that measurement.
Now, let's get adjusting!
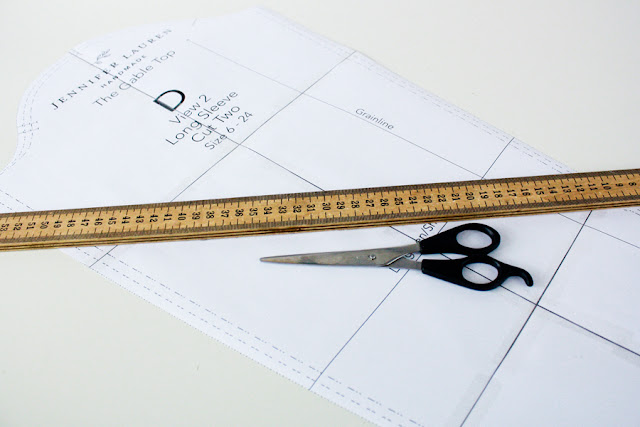
You'll need -
- Your Gable Top sewing pattern
- Ruler
- Pen
- Paper Scissors
- Scrap paper & cello tape
1. Decide where you'd like your finished sleeve to sit - if you'd like a slightly shorter 3/4 sleeve (finishing on your forearm, just after the elbow), you can easily use the sleeve pattern piece from View 3 with no adjustments. Simply leave the cuff off and hem using the seam allowance included in the pattern piece.
If you'd like a longer 3/4 or bracelet length sleeve, use the long sleeve pattern piece from View 2.
2. I went for a standard 3/4 sleeve on the samples above, so used the View 2 sleeve pattern piece. I measured up 15.5cm from the bottom sleeve hem on a size 10 to get the sleeve length pictured.
Once you've decided on a length, add your 1cm hem seam allowance to the bottom of that and draw in your new hem line (in pink below). My line was drawn in at 14.5cm up from the bottom to include the seam allowance.

3. Cut your pattern piece along the line you drew in step 2.

4. The last thing we want to do for a perfect pattern piece is to shape the hem seam allowance for a snug fit when folded back into the sleeve. To do this, fold your seam allowance up.

Take your scrap paper and at either side of the seam allowance, use the paper to increase the sides of your seam so that they match up with the angle of the sleeve (the little pink triangles on the photo below). Your hem seam allowance will then fit perfectly back into your sleeve when turned up.

5. Stitch in place using the steps in your Gable Top instruction booklet, and TA DA! Cute little 3/4 sleeves. Now, where are my circle skirts?

If you make a 3/4 or bracelet sleeve Gable, I'd love to see them. Leave me a comment, send me an email or tag me on instagram!
xx
J
ps) The Ivy Pinafore dress pattern is nearly here! Yay!! Make sure you sign up to my newsletter to be the first to find out when it's released and for your subscriber only discount.


Post Comment
Post a Comment
Thank you so much for stopping by to leave me a comment, like most people, I really do appreciate them all!
Due to the large amount of spam I receive here, unfortunately I have had to turn comments off. If you'd like to get in touch with me, please send me an email :)
Note: Only a member of this blog may post a comment.