

Lots of you have already purchased or upgraded to the new Afternoon Blouse & Shift Dress pattern, thank you so much! I can't wait to start seeing your lovely creations popping up soon.
Today I thought I'd share a quick tutorial on how to insert the back inverted box pleat for View 3. The pleat is a lovely little addition to the shift dress, giving you some added shape while also providing an unusual wee detail - right up my alley.
You'll need -
- Your Afternoon Shift back pattern piece
- a needle with contrasting thread
- your sewing machine
Oh, and this tutorial has been photographed using a mini version of the shift pattern - so much easier to photograph and so cute!!
Steps:
1. Take your cut out back pattern piece with the pattern still attached and using your needle and contrast thread, place a small but sturdy temporary tack into the notch markings in the centre back of your shift dress, securing them together.
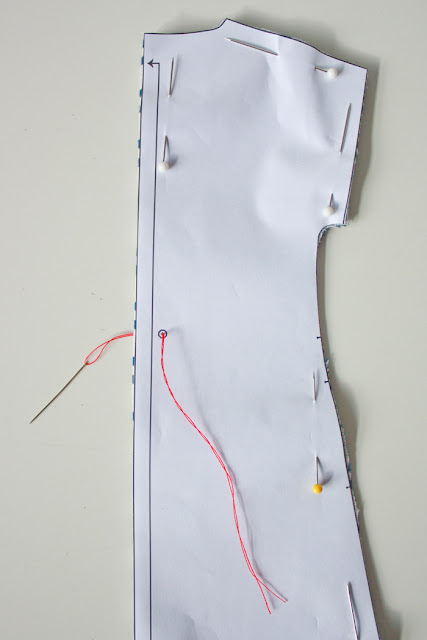

2. Using a low heat on your iron, press the centre fold line down gently next to your tack. This will provide a temporary guide, allowing you to line up your box pleat more accurately for the next step.

3. With the wrong side facing you, open out the pleat and press it flat down, lining up your centre 'line' with your temporary tack. This will ensure you have an even amount of 'pleat' on either side of your imaginary centre back line. Pin in place.


4. Stitch your box pleat down with one row of stitching (you may choose to do two for extra security if you like). Don't back tack at either end, instead, leave long tails and pull these through to the underside once you have finished securing your pleat. Knot securely and clip threads short. Remove your temporary tailor's tack.

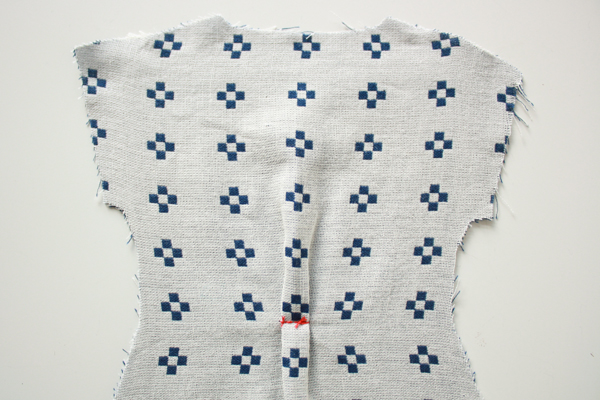
This is what your pleat should look like from the right side!


Next week I'll be showing you how to put the gathering into the back for Version 4 of the Afternoon Shift Dress.
Talk soon,
xx
J
* Possibly not as easy as eating the cookie though - but you'll be mighty comfortable doing that in your sparkly new Afternoon Shift :)


What a fantastic tutorial. I have a dress which needs to be refashioned and I think that a box pleat would be perfect for it. Thank you so much for the great tips. Cheers, Michele
ReplyDeleteHey Michele - a box pleat is a great way to take vintage dresses in when you don't want to mess with the dress too much! I'd love to hear how it goes when you get around to it :)
DeleteHi Jen I really like the detail you put into your articles and the photos you use are fantastic. Also this is a really good tutorial.
ReplyDeleteI love the detail that you put into your tutorials Jen, they are excellent
ReplyDelete