

Before we get into today's post in the Willa Wrap Coat Sew Along, here's a little note on finishing lining seam allowances - you don't have too if you don't want too!
I generally use pinking shears, but I am using a rayon, which doesn't fray nearly as much as a polyester lining. Listen to your fabric - if you've cut out your pattern pieces and you can see it falling apart or leaving little threads everywhere before you've even started, that's a good indication that finishing your lining seams would be a good idea.
Steps:
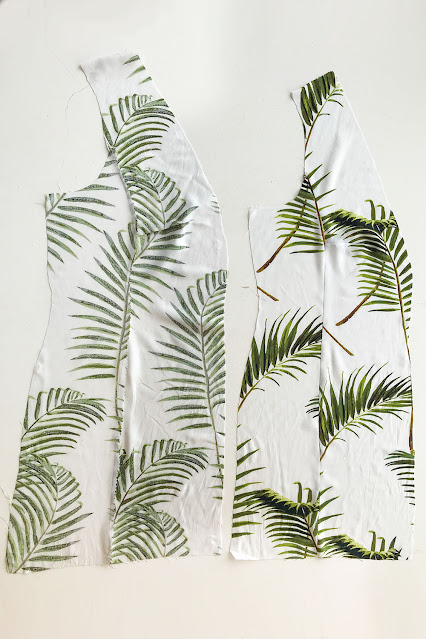
1. Insert your dart and attach the side panel to the front lining as you did for your outer front coat.
2. Take one lining panel and right sides together, match it along the inner edge of one of the front facing pieces. Pin together at the notches and ease in the lining between.


The bottom raw edge of your lining should match to the first bottom notch of the front facing. That should then leave the bottom notch of the lining matching with the second to last facing notch. Place a pin here - as indicated above, as this is where you will STOP sewing your lining to your facing.
3. Back-tacking at each end, attach your lining to your front facing, remembering to stop at the last notch on the lining (second to last notch on the facing).


4. Trim down your seam allowances and press the seam to the lining side*


* You can, and traditionally would (for lighter fabric), press this seam allowance to the facing side, however, I feel that this adds bulk up that entire seam, especially if you already have a bulky fabric.
Pressing the seam allowance to the lining side does mean there will be a small fold in the seam allowance when you finish your front corner, but this is completely hidden within the lining and it's only at the bottom, which is a better option in my opinion.
If you'd prefer to press the seam to the facing side, I would recommend placing a set of additional top-stitching up this seam to keep the seam allowance where it is, stopping where you stopped attaching the lining.
If the above doesn't make sense, it will when we get to making our front corner!
Tomorrow we assemble the back lining - we're on a roll! You can purchase your Willa Wrap Coat sewing pattern here.
xx
J


Post Comment
Post a Comment
Thank you so much for stopping by to leave me a comment, like most people, I really do appreciate them all!
Due to the large amount of spam I receive here, unfortunately I have had to turn comments off. If you'd like to get in touch with me, please send me an email :)
Note: Only a member of this blog may post a comment.