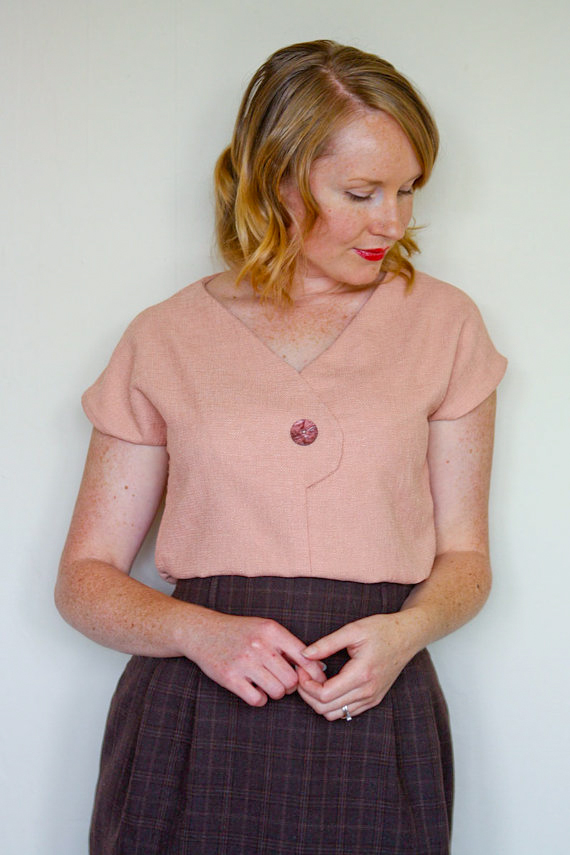
Sometimes, a pattern calls for a specific seam allowance that may not be already marked on your sewing machine, and if you're planning on making the Mayberry Dress, this might just be one of those patterns.
When attaching the bodice to the skirt, Mayberry needs a 2.5cm (1") seam allowance, and the majority of sewing machines, mine included, only have guides going up to 2cm (3/4").
Here's a picture of my well loved sewing machine - you can see it only goes up to 2cm (or 20mm), but there's an easy fix...
Take a ruler or measuring tape and measure out your new seam allowance. For Mayberry, I need to add on an extra 5mm or 1/4" (the pink line indicated below).
Take some washi tape (or electrical tape or even some clear tape with a straight line of brightly coloured thread stuck to the bottom of it) and pop it onto your sewing machine, lining it up with your new seam allowance measurement.
Double check you've placed your tape at the correct measurement all the way up - adjust as needed.
Now you can line up your sewing with your new seam allowance guide and stitch away. It's as easy as that.
You can purchase your Mayberry Dress pattern here.
J


Post Comment
Post a Comment
Thank you so much for stopping by to leave me a comment, like most people, I really do appreciate them all!
Due to the large amount of spam I receive here, unfortunately I have had to turn comments off. If you'd like to get in touch with me, please send me an email :)
Note: Only a member of this blog may post a comment.